- You are here:
-
Joomla! Tutorials

-
Joomla! 2.5
-
Cloudbase 2.0 Template
- Cloudbase 2.0 - Cloudbase Logo
Cloudbase 2.0 - Cloudbase Logo
The Cloudbase 2.0 template comes with a pre-installed logo located in the upper right hand corner of template. We receive a common request from our clients asking for help removing this logo. This article details the steps you can take to remove the pre-installed logo, and steps you can take to incorporate your logo for branding. Please note that these steps are for the CloudBase 2.0 template or any other CloudAccess.net template.
First, you'll need to turn the current logo in the template off. Below is an example from the CloudBase 2.0 template.

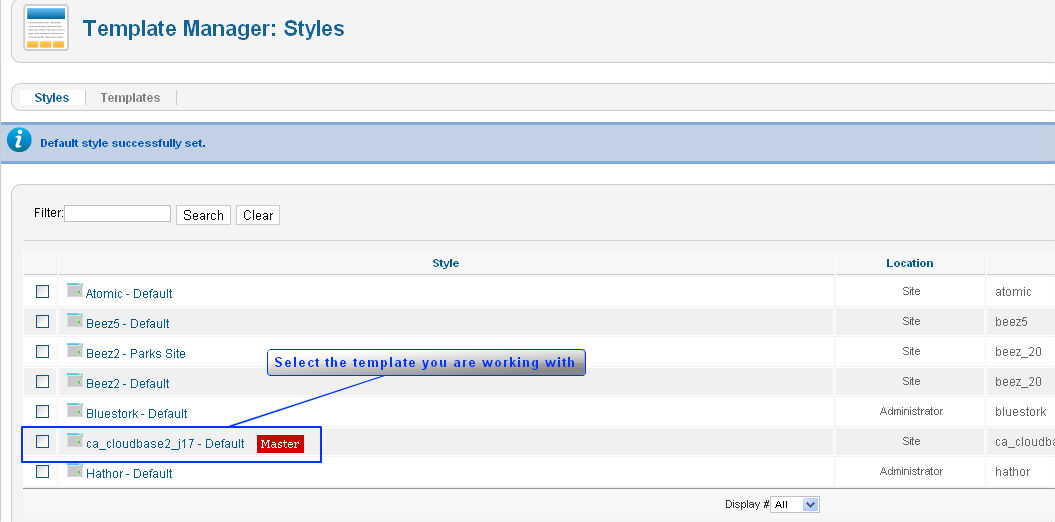
In order to do this you need to log into the administration area (back end) of your site, and open the Template Manager. Once you are in the "Templates Manager: Styles" page, click on the template you are currently working with.
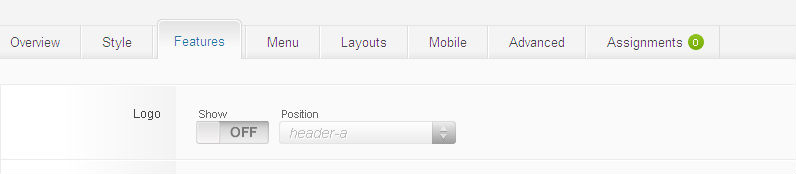
This will open the Templates Manager “Edit Style” page. Select the "Features" tab, the logo will be selected as “on”, you will need to click on this to turn the Logo “Off”. Make sure you hit "Save and Close".
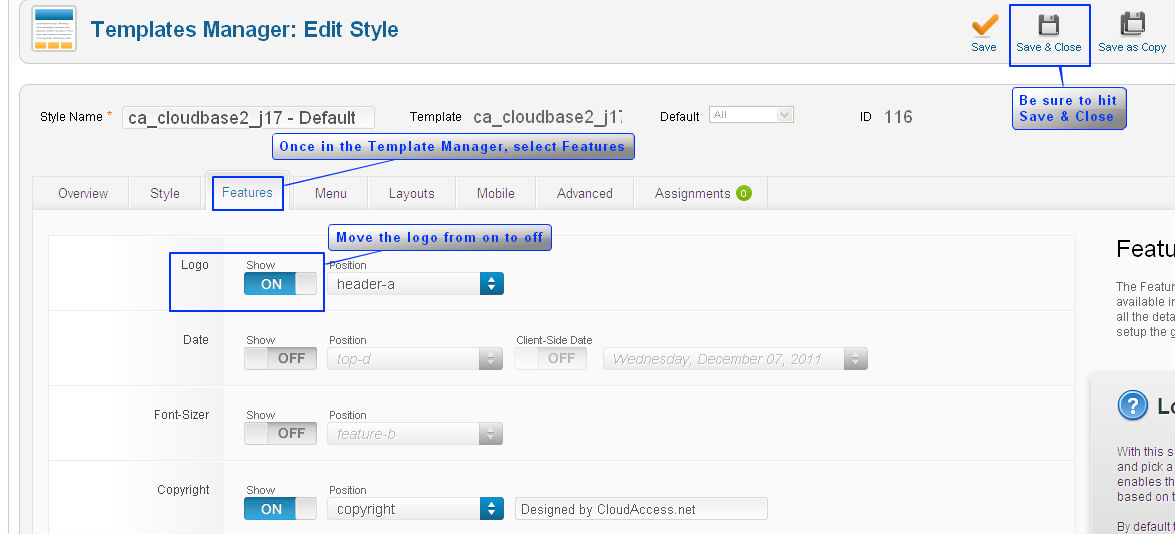
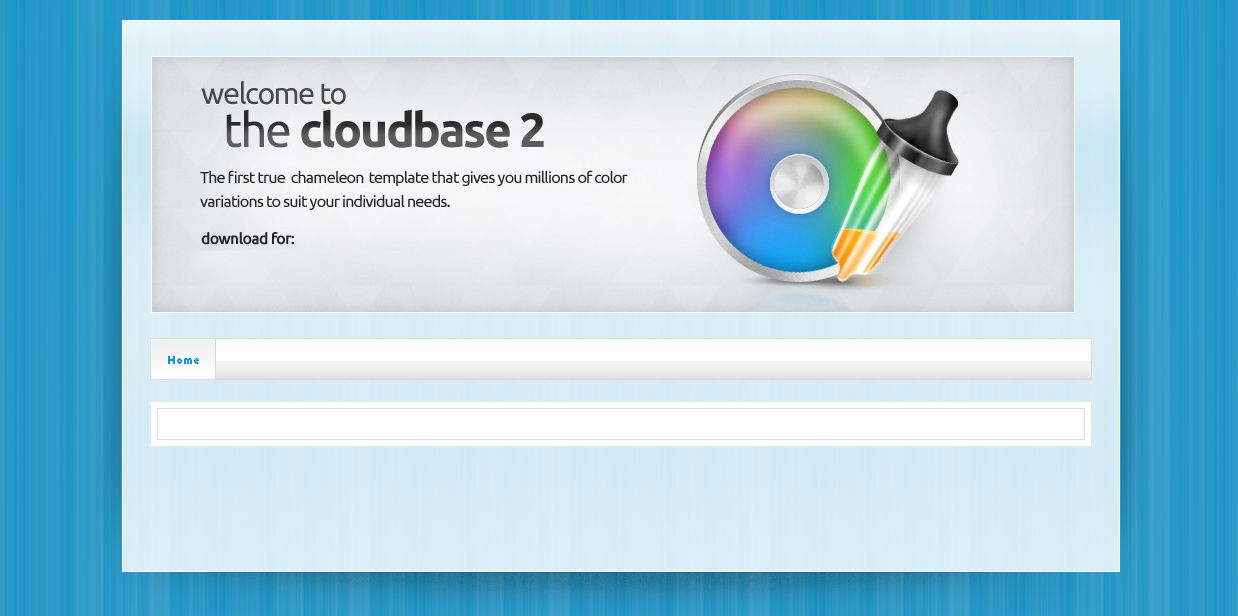
Below is an image of the logo turned off.

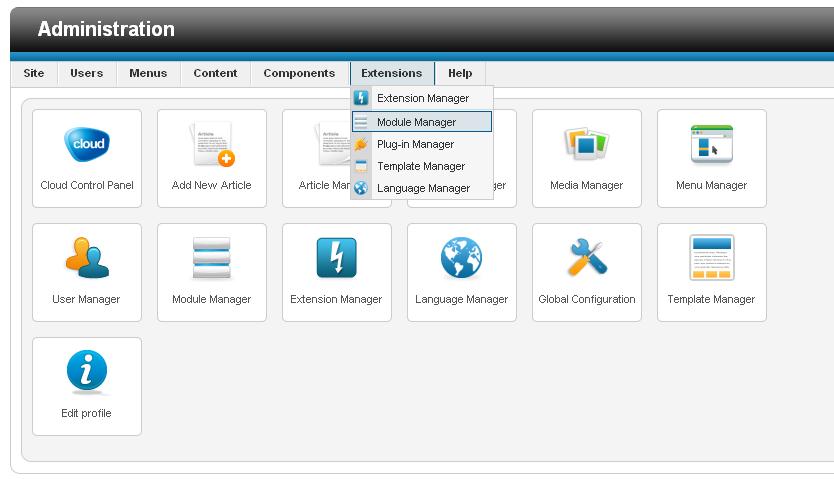
If you return to the front of you site and hit refresh, you'll notice that the sample logo is gone. Now, to create a logo of your own, you will need to create a new module. To do this, go to Extensions, then Module Manager.
Select the the “New” button to create a new module.

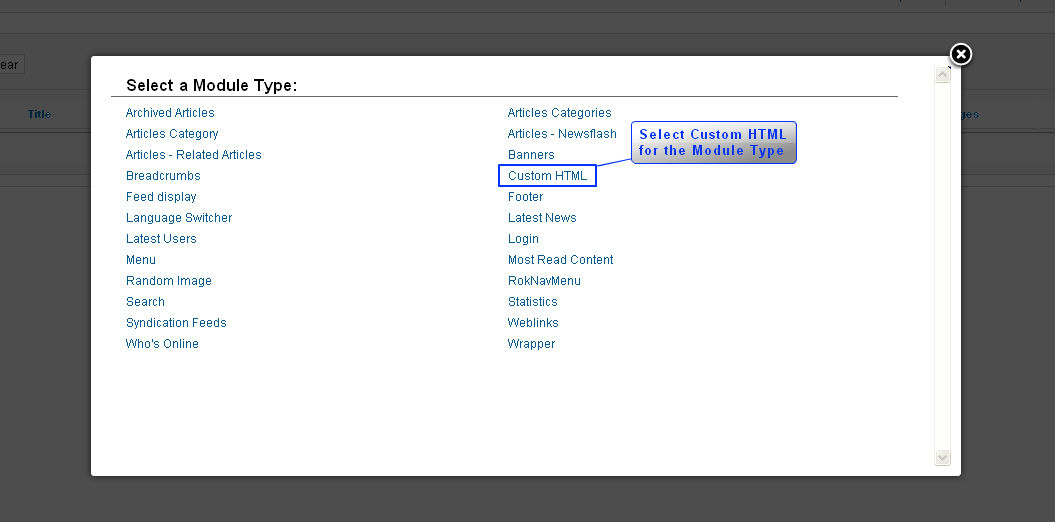
Then select to create a “Custom HTML” module type.

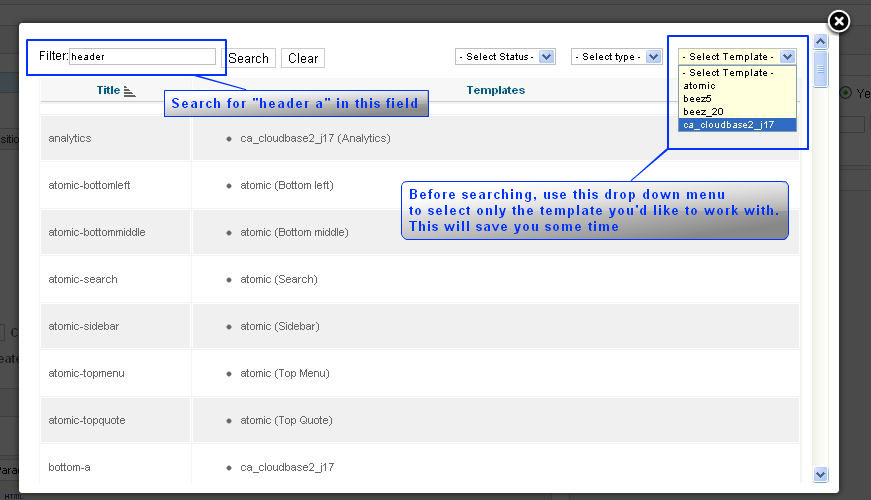
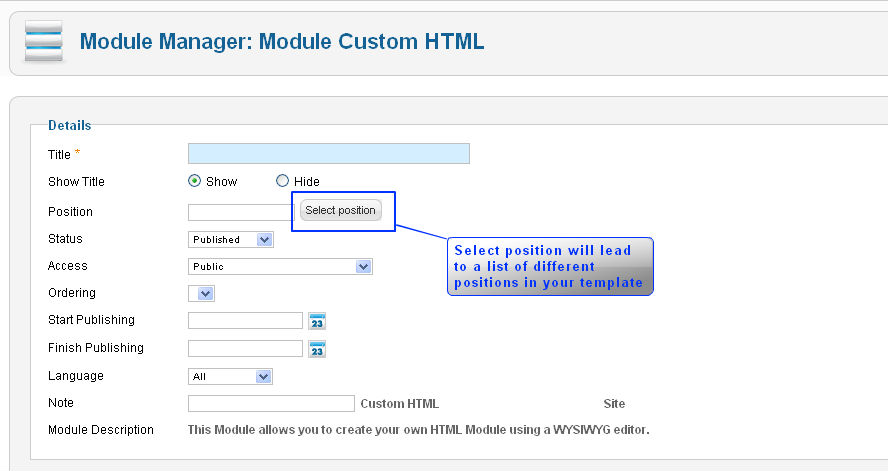
This will bring up a new page to edit and create your new Custom HTML module. You will want to place the module by selecting the “Select position” button.

First, use the select template drop down menu to select only the template you'd like to work with. Next, find the "header a" position where the logo is usually placed. You can always visit the module map for your template to search for a different module position.
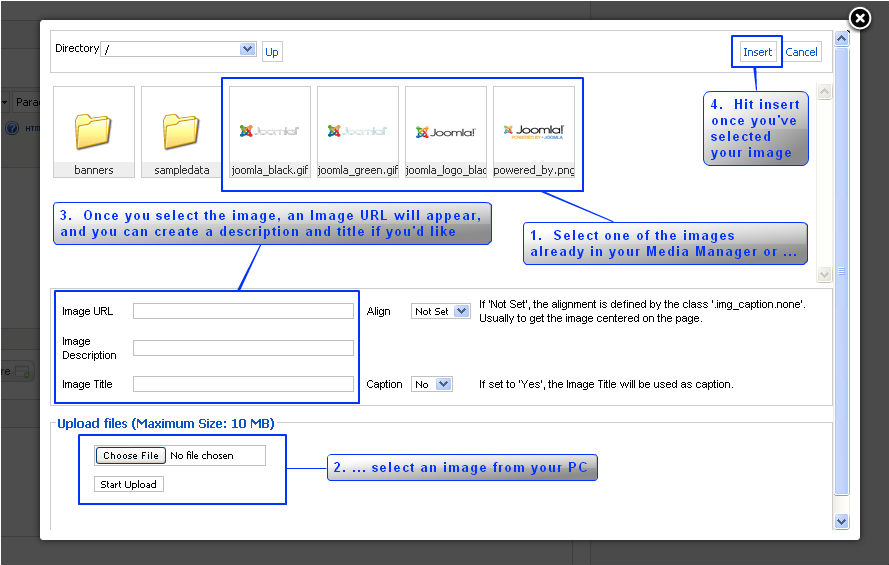
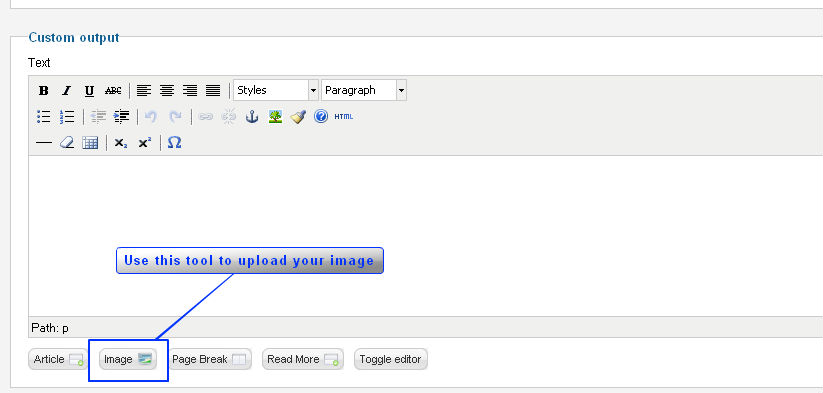
Scroll down and select the "Image" button underneath of the module text box to either browse and upload your logo, or to select an image from the preexisting files in the media manager.

Select an image from your media manager or upload one from your computer.
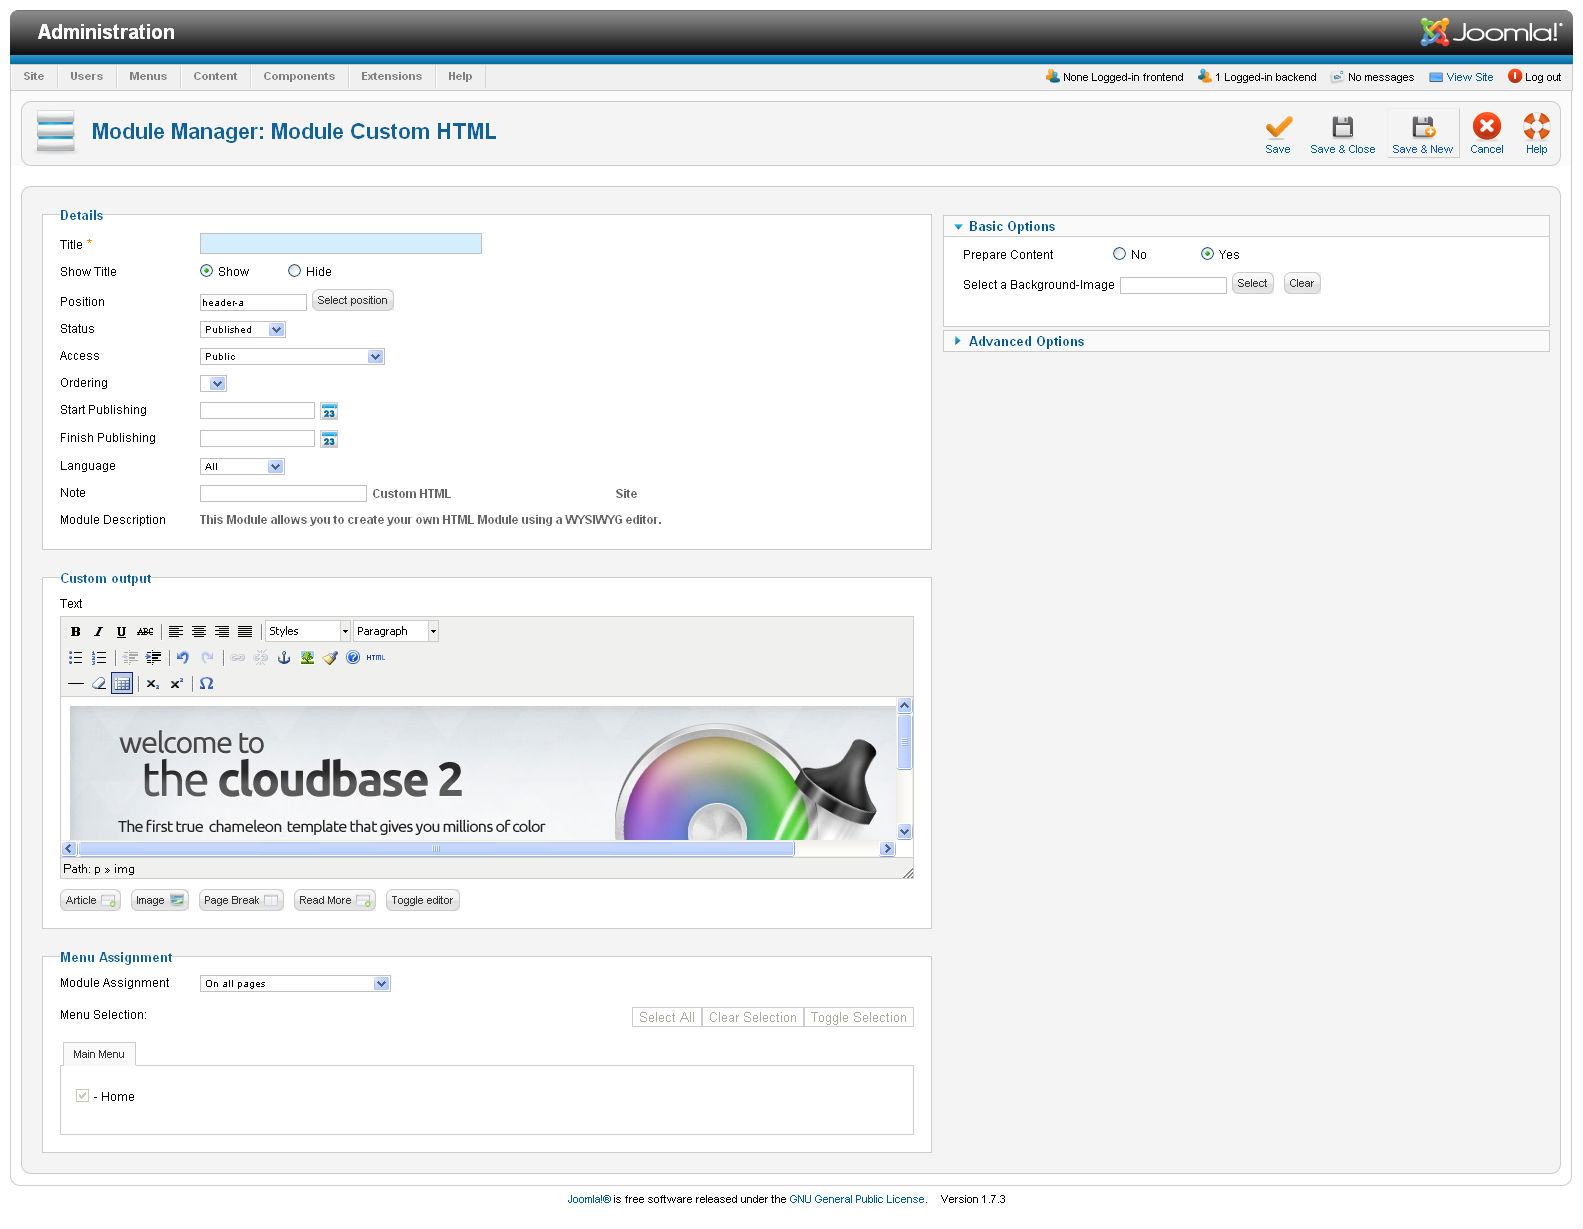
Give the module a title, and select the title to be on “hide” so you do not see this text on the front end of your site. Always make sure you save your work before closing.
Below is an example of how the custom HTML module edit page should look.
View the front end of your website to see the changes you have made.

Knowledgebase

100% FREE
Joomla & WordPress
Hosting
- Launch Instantly
- Free Subdomain
- Free Training
- Free SSL
- 500MB Space
- 1CPU/1GB RAM
- FTP Access
- MySQL Access

Do you have suggestions for improving this article?
We take a great deal of pride in our knowledgebase and making sure that our content is complete, accurate and useable. If you have a suggestion for improving anything in this content, please let us know by filling out this form. Be sure to include the link to the article that you'd like to see improved. Thank you!