- You are here:
-
Additional Resources

-
FTP - SFTP - SSH
- Restoring a Backup of a Joomla Site using FTP
Restoring a Backup of a Joomla Site using FTP
As part of your hosting and support package with CloudAccess.net, we can backup a Joomla Instance for you and move it to a different part of our network. Or, if you are new to us and have a pre-developed Joomla Instance that you'd like to launch on our network, we're also standing by to help you through the process. You are certainly free to restore your Joomla Instance on your own and this article may provide a few useful details to help along the way. The Akeeba backup engine can be used to create one file (a .jpa file) that contains all of the information for a single Joomla Instance - all Categories, Articles, Content, Modules, Menus, Extensions, Plug-ins, etc. The fastest and most efficient way to restore a Joomla Instance is by using a .jpa file. If you do not have a .jpa file, please contact our support team so we can install your Joomla Instance manually. Follow the steps below once you have a backup ready to move round within our network or launch into our network.
Uploading the backup file to the destination account using file transfer protocol (FTP)
Download and install Akeeba Kickstart
Extracting all files within the backup file
Configuring the files to work within the destination account
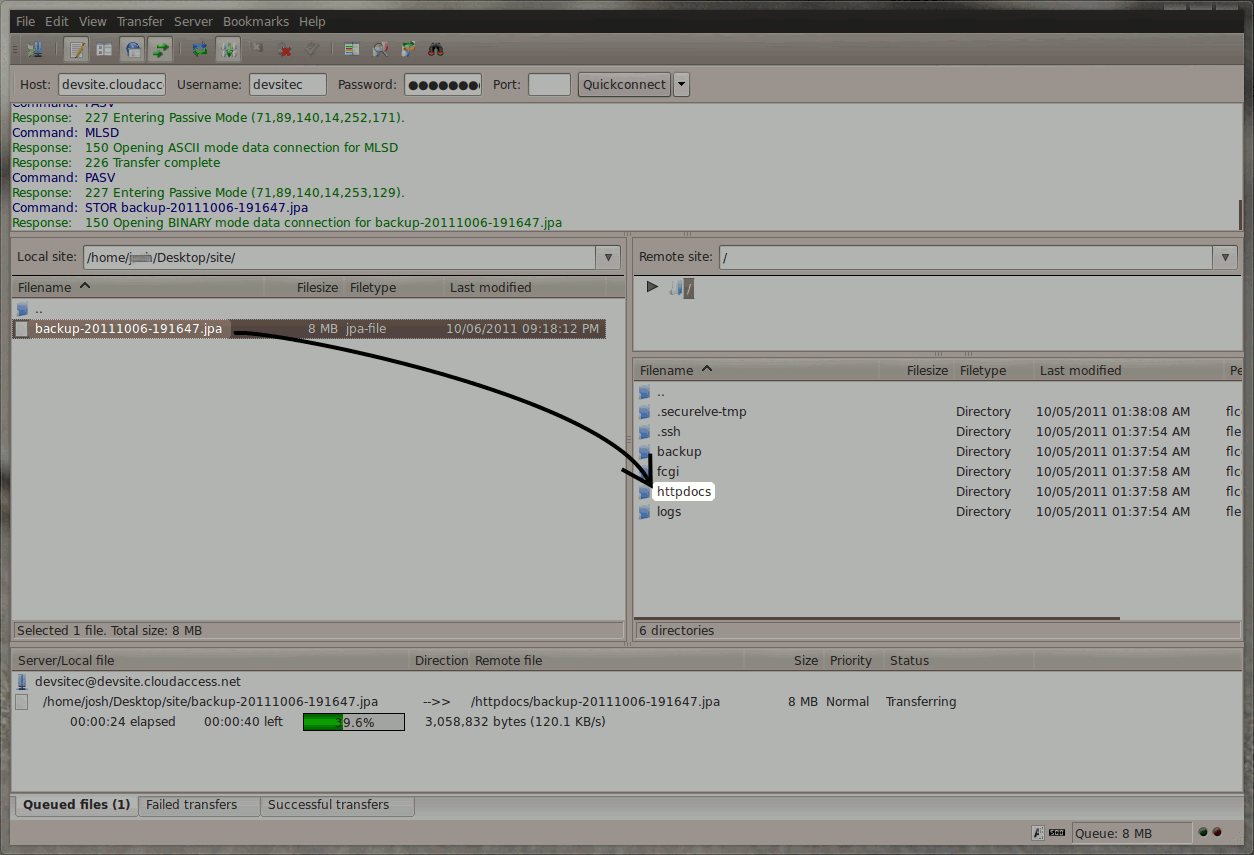
Uploading the backup file to the destination account using FTP
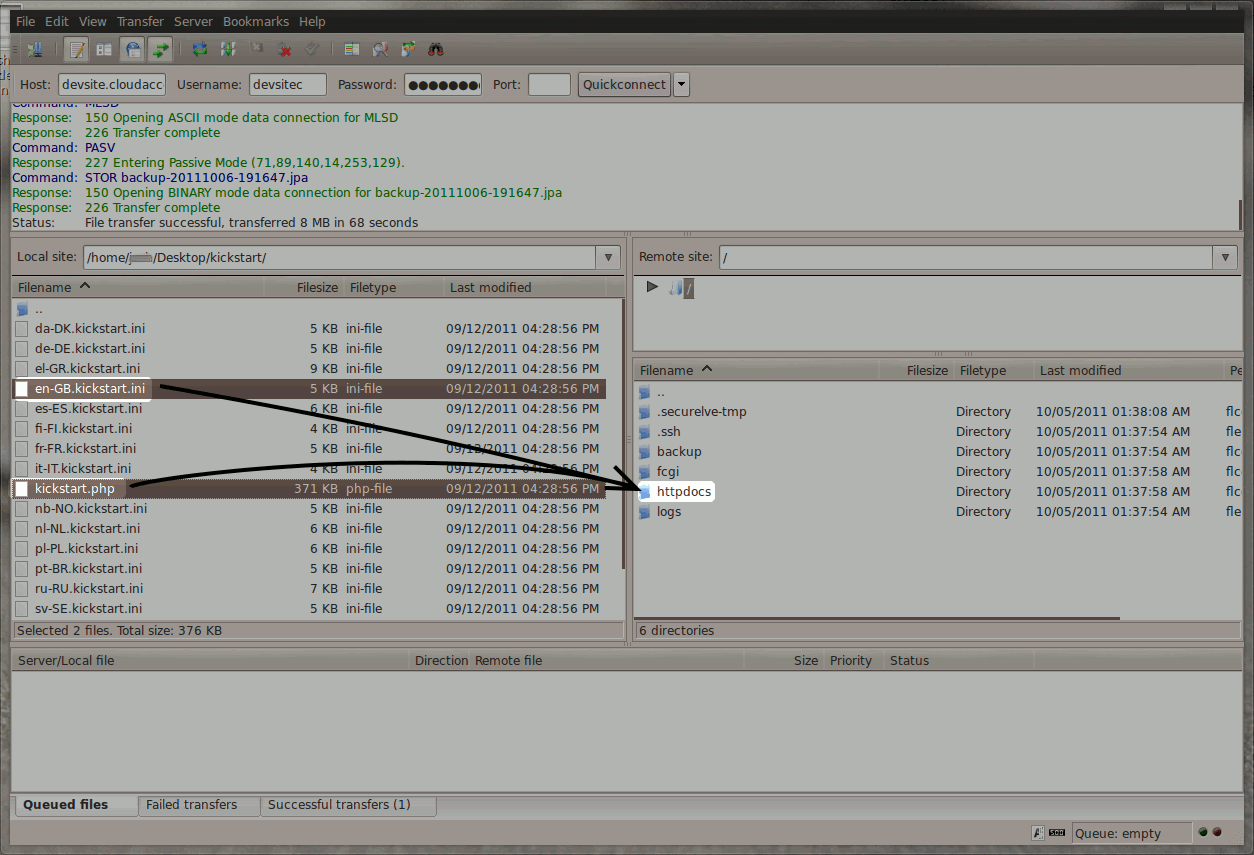
First, learn how to access your FTP login details.
We highly recommend that you turn "Binary Transfer Mode" on. This can be done by selecting "Transfer > Transfer Type > Binary" from the main menu.
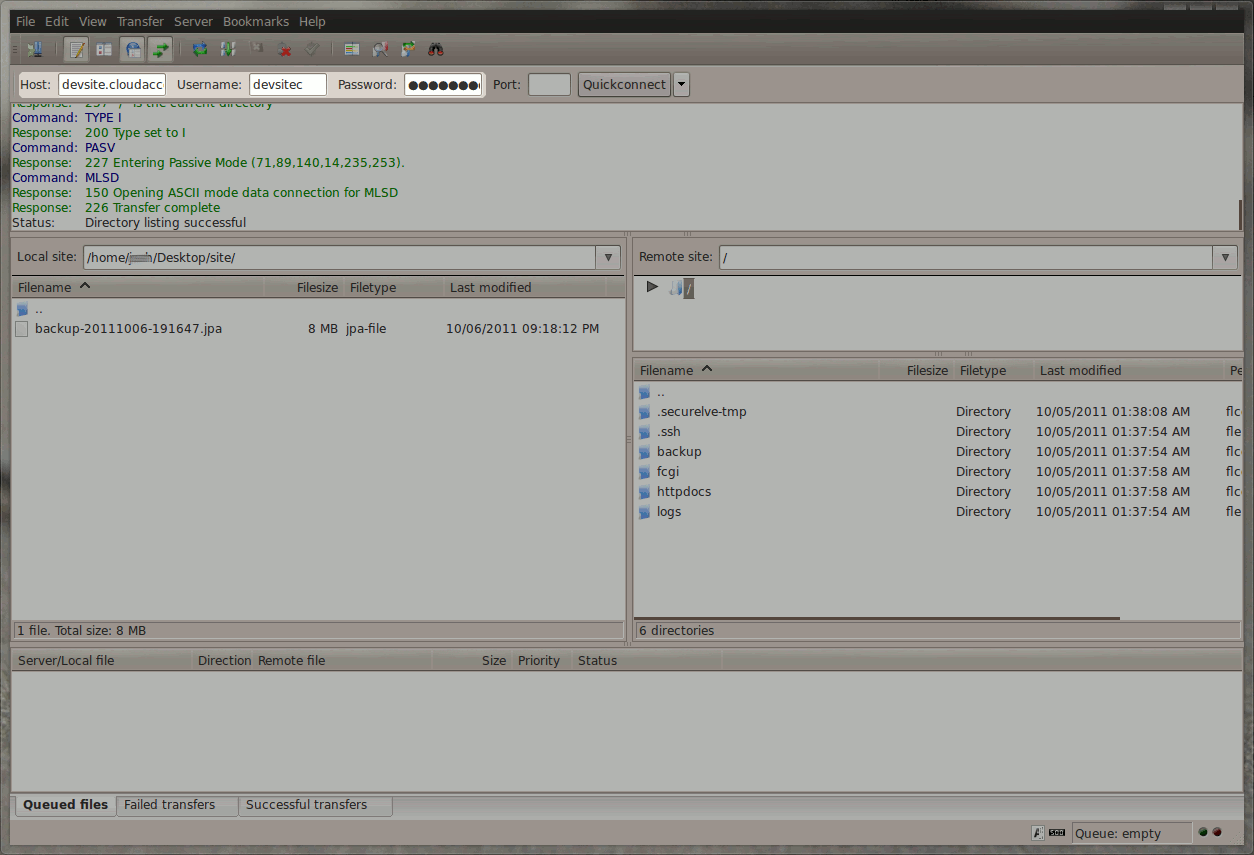
Upload the .jpa file to the httpdocs folder.
Back to Top
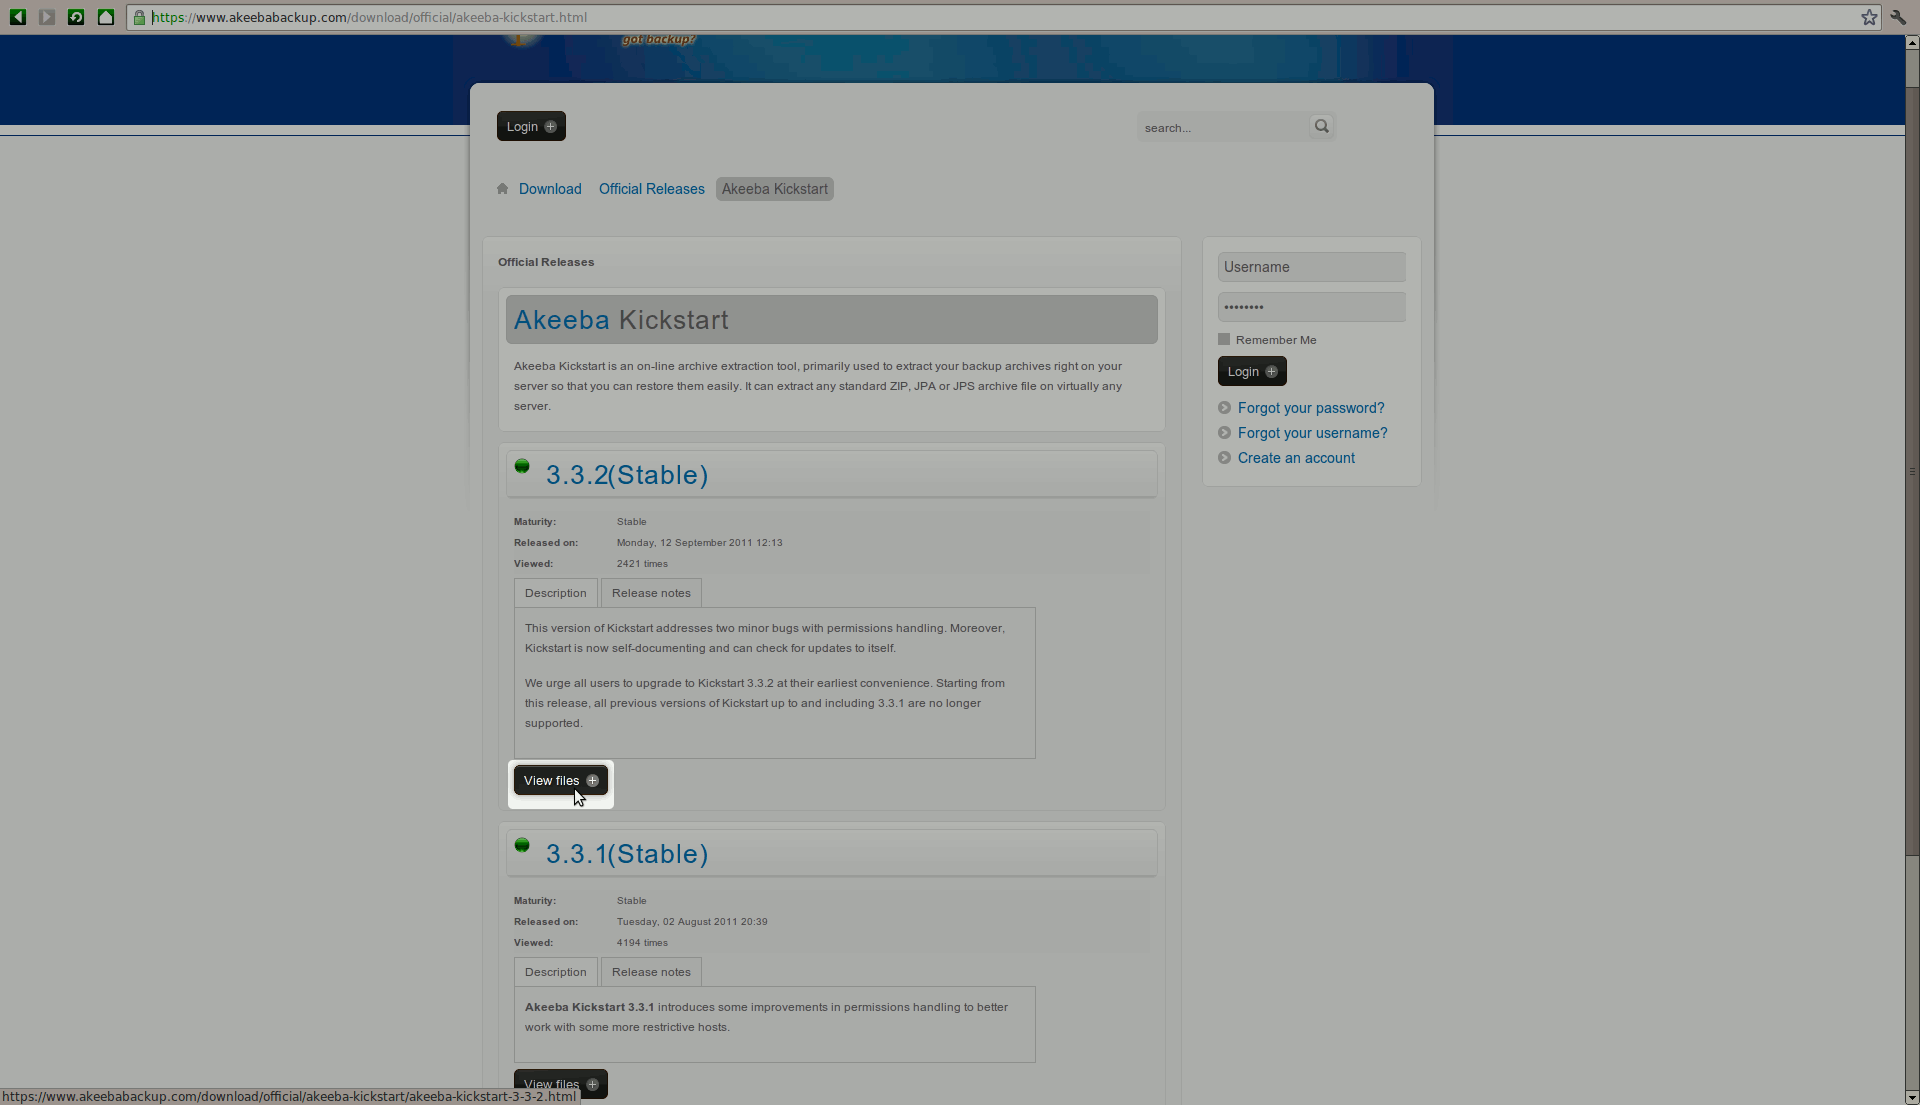
Download and install Akeeba Kickstart
You will need to use additional files to help install the data. Download the Akeeba Kickstart files and extract them on your computer.
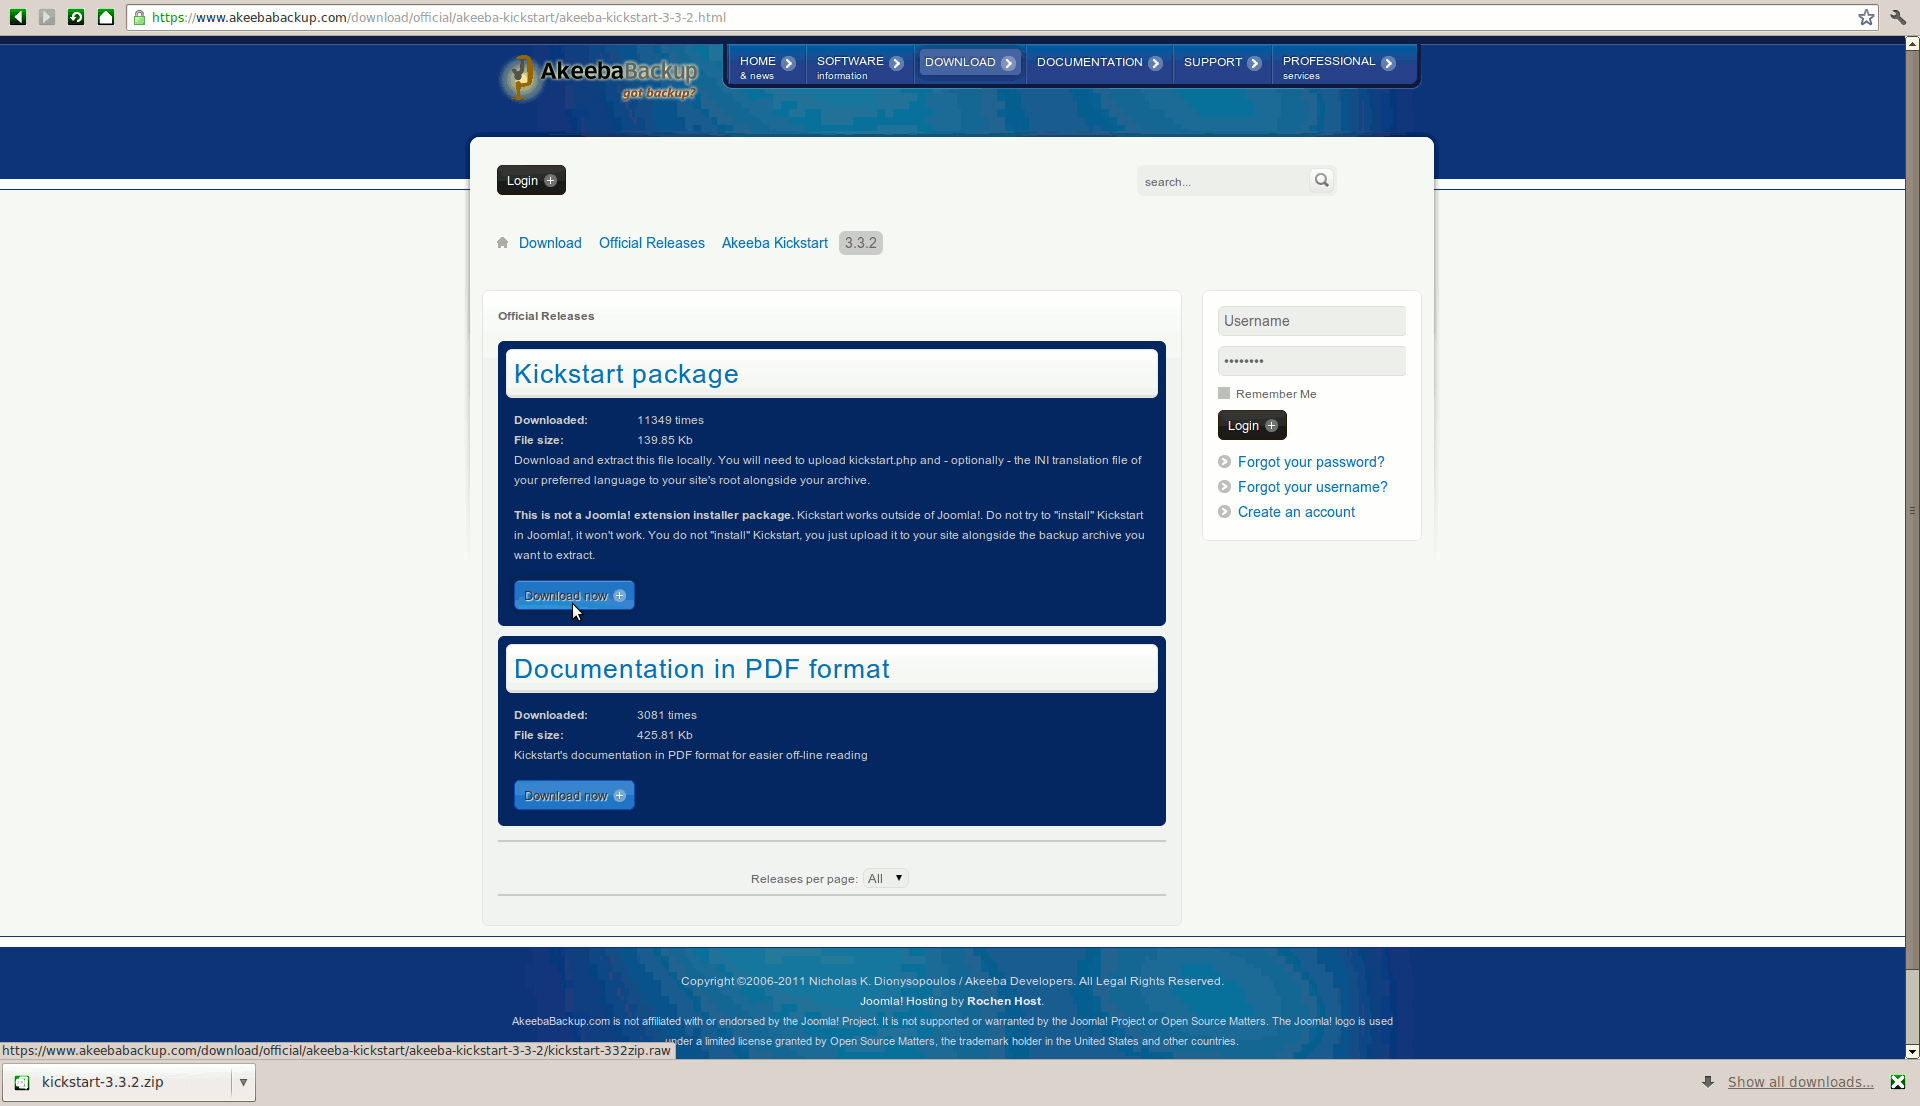
After extracting all of the files, locate the two that you will need: kickstart.php and en-GB.kickstart.php.
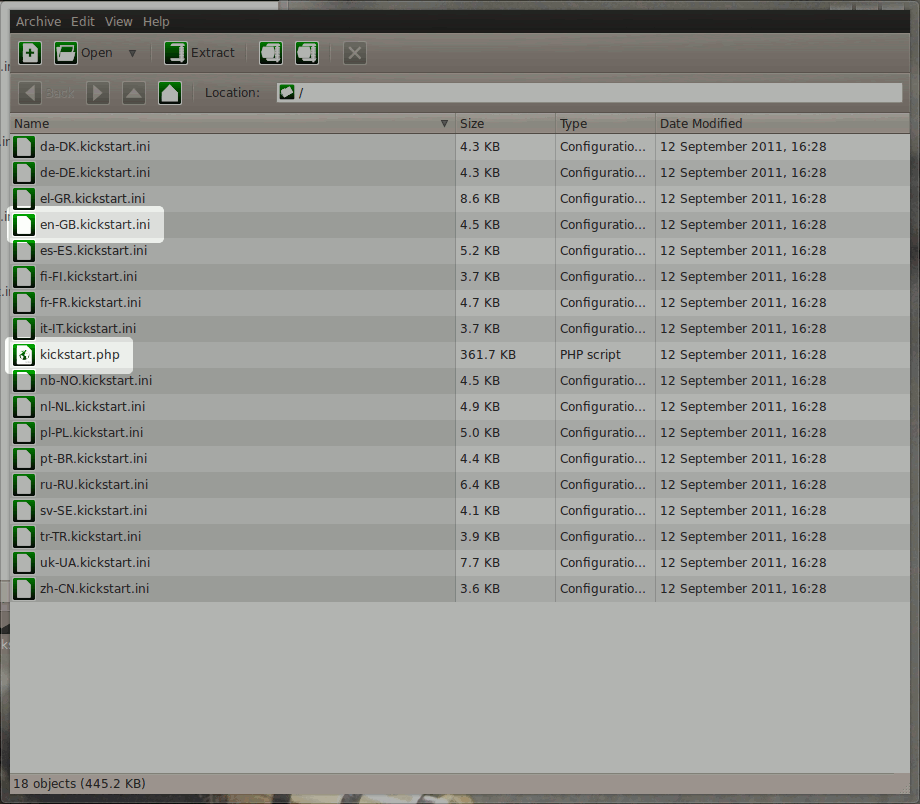
The files (as indicated above) should be placed in the same directory as the .jpa file - the httpdocs folder. Again, you don’t need all the files - the only ones you’ll actually need is kickstart.php and en-GB.kickstart.php.
The installation procedure requires database access details. They are in the configuration.php file in the httpdocs directory. Download it to your computer and open in a notepad.
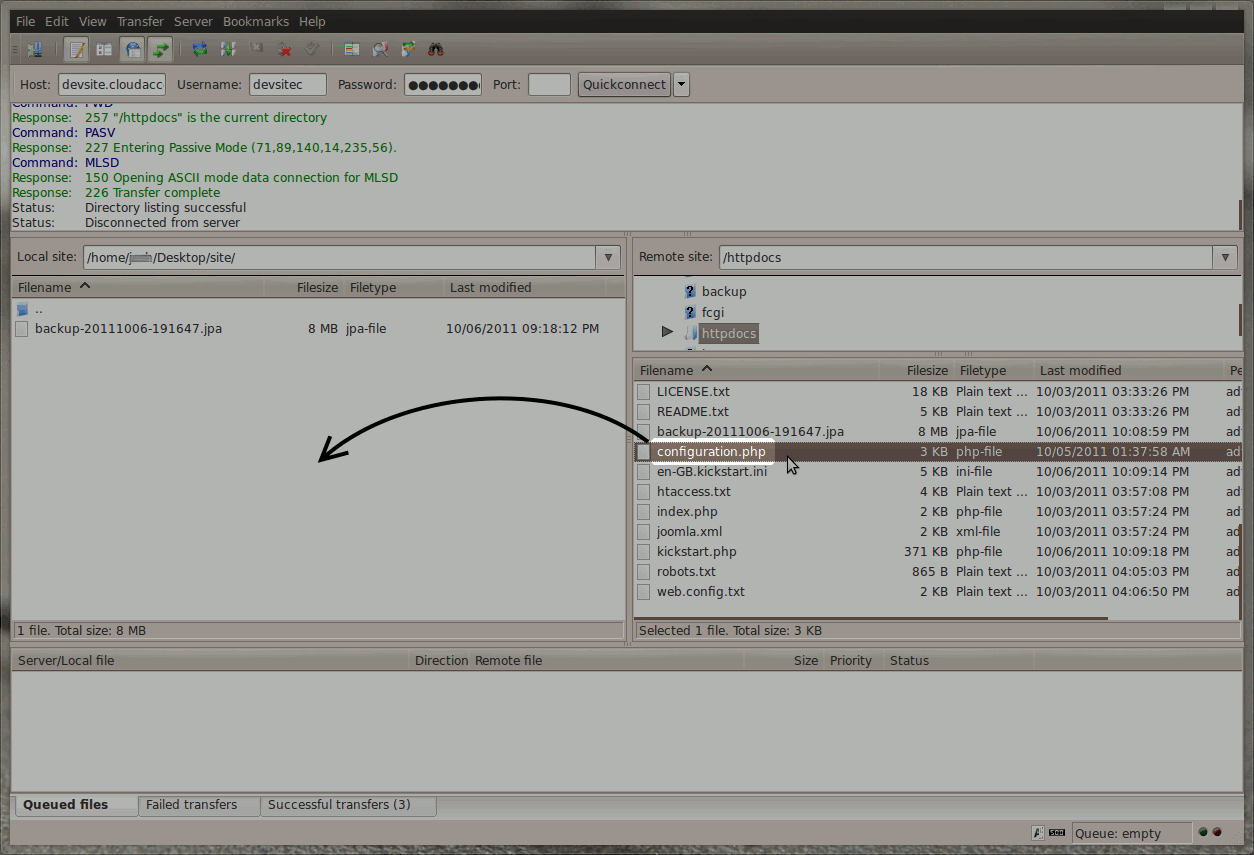
Open the file once you ve downloaded it because later you ll have to locate the host, username, database, password and the prefix.
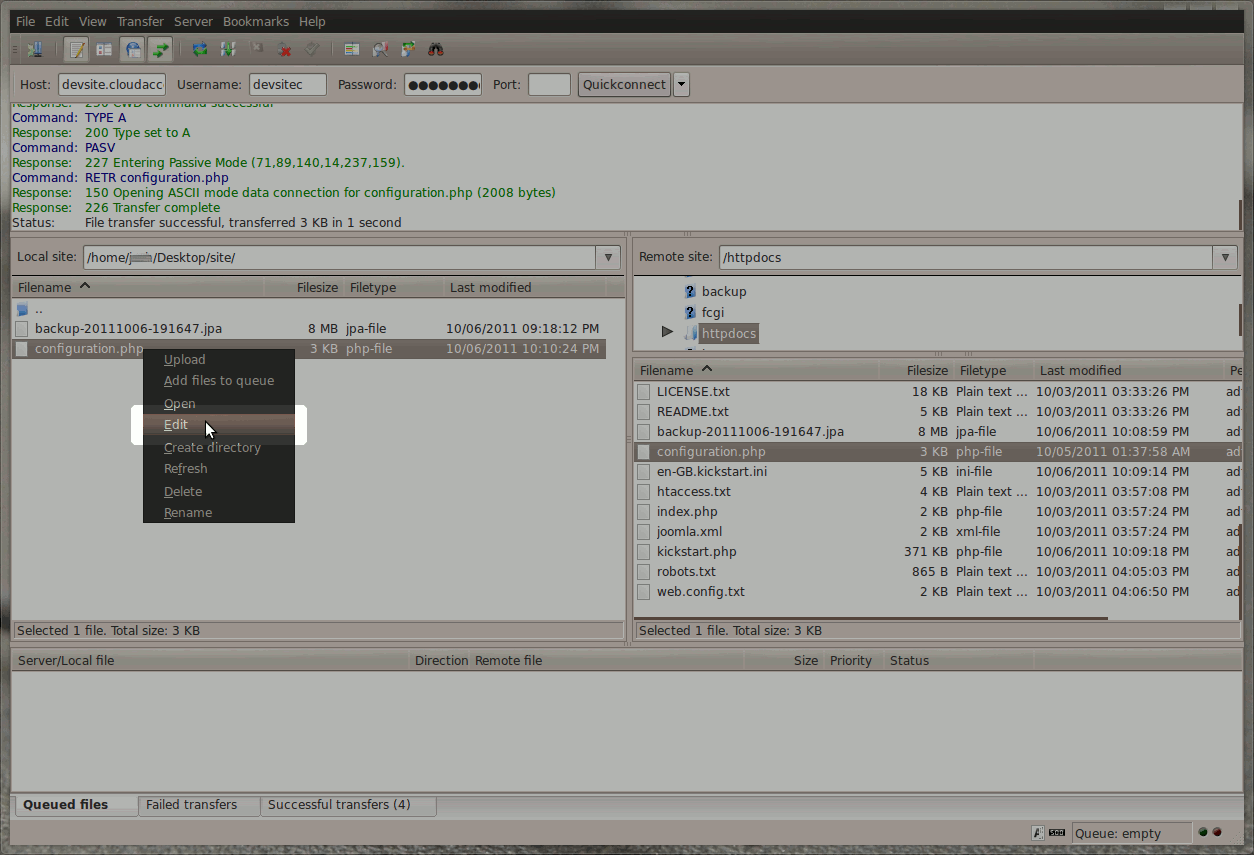
Keep this file open - it will be needed later.
Back to Top
Extracting all files within the backup file
Now you are ready to initiate the installation. Type the URL for your new site into the URL window. Be sure to add /kickstart.php at the end of the URL: http://yoursite.cloudaccess.net/kickstart.php.
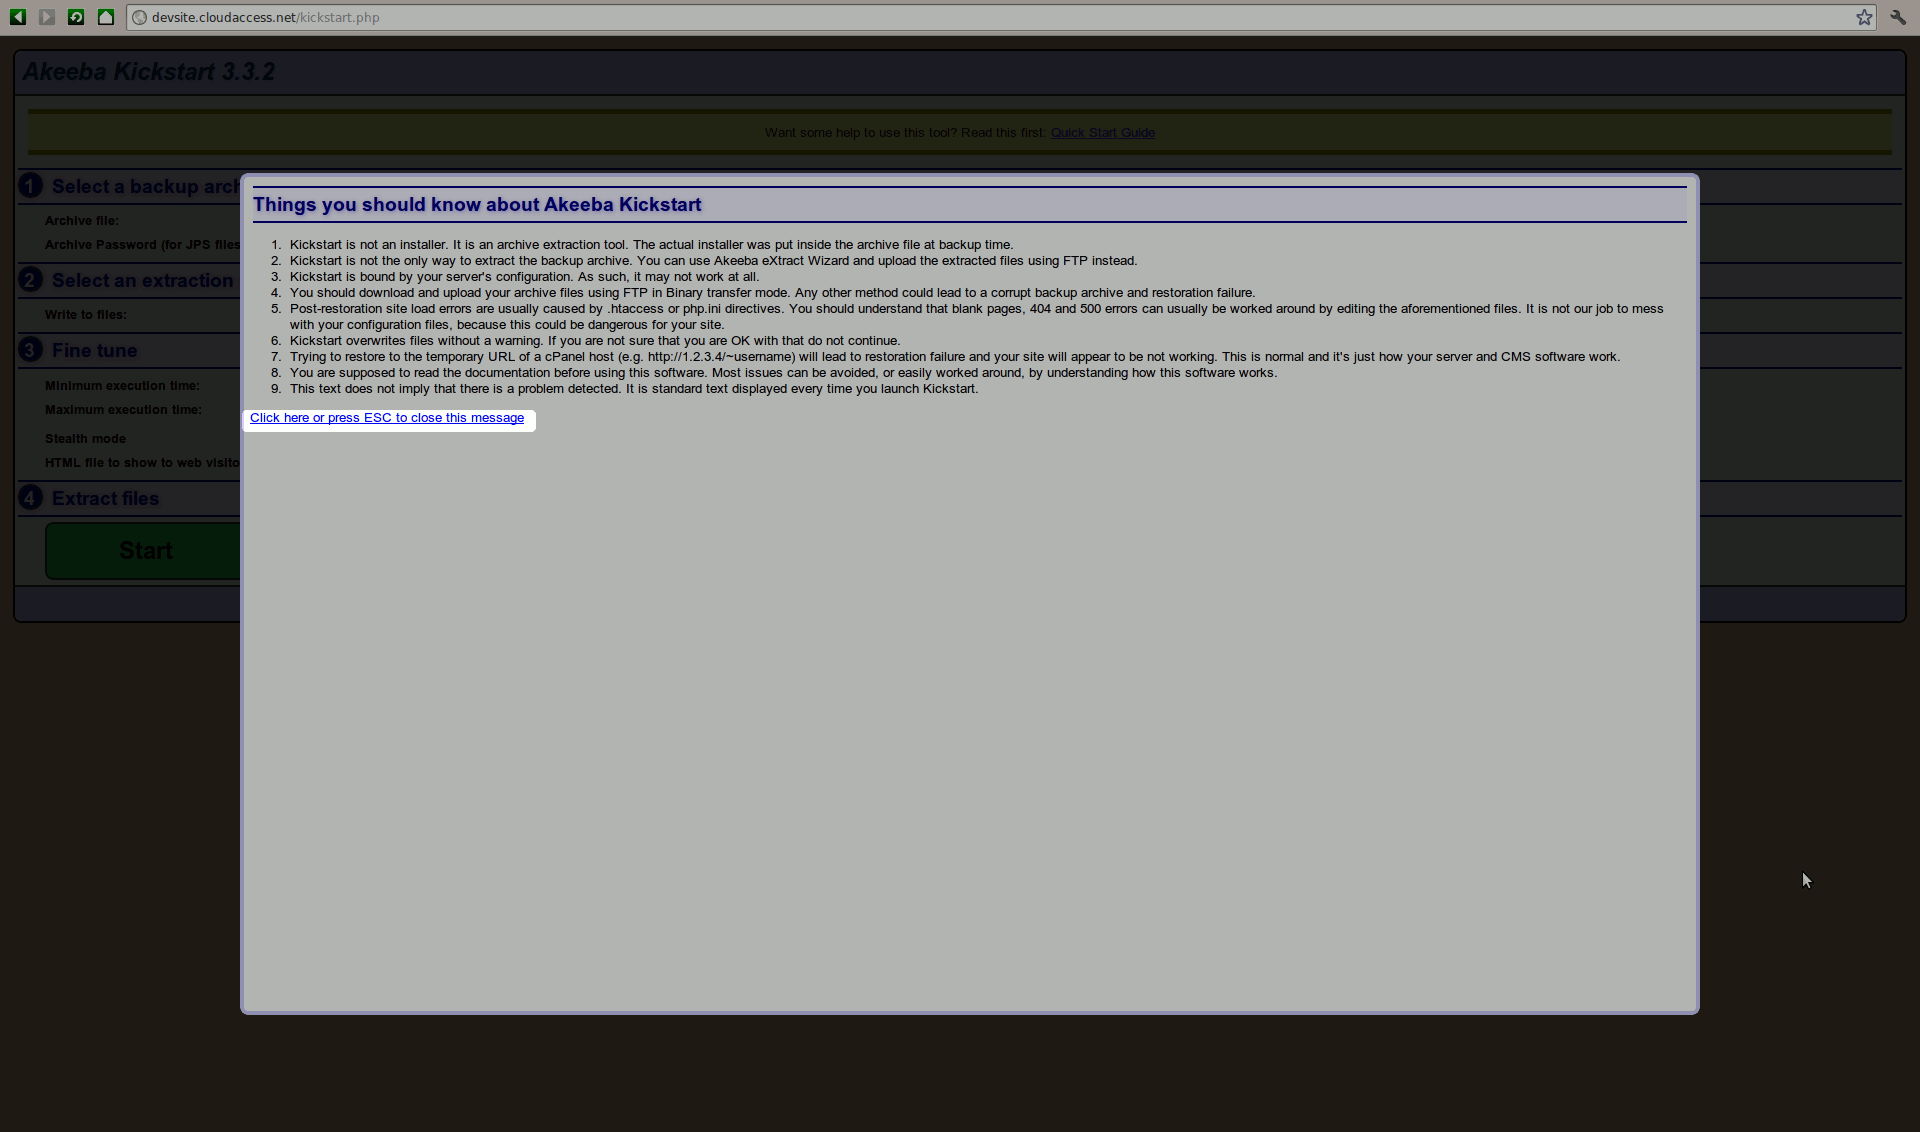
You’ll see a screen like the one shown below. Press the ESC key (or the link on the bottom of the message) to close that window.
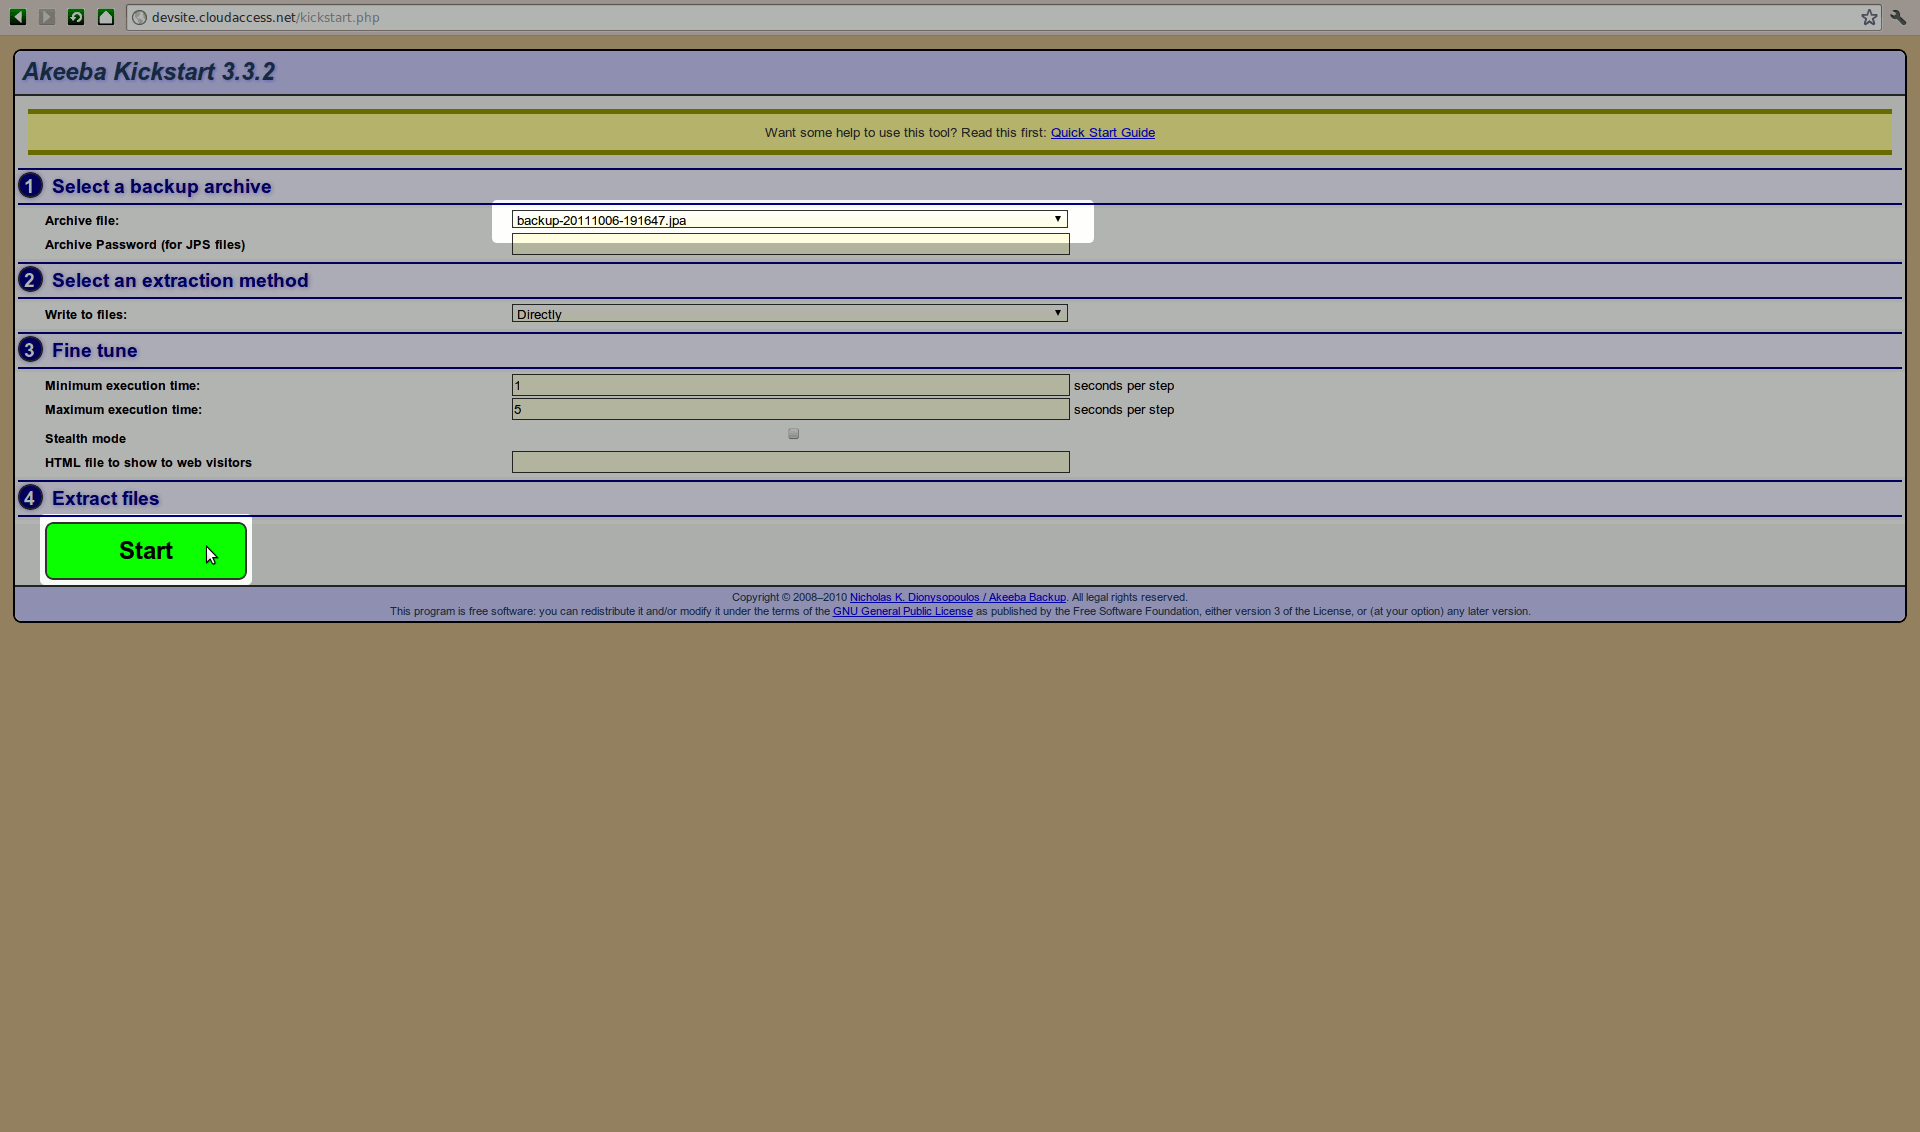
Now you’ll see all settings required to extract the .jpa file on the server. Verify the archive file name (it should be the same as the one you uploaded to the server) and click the Start button.
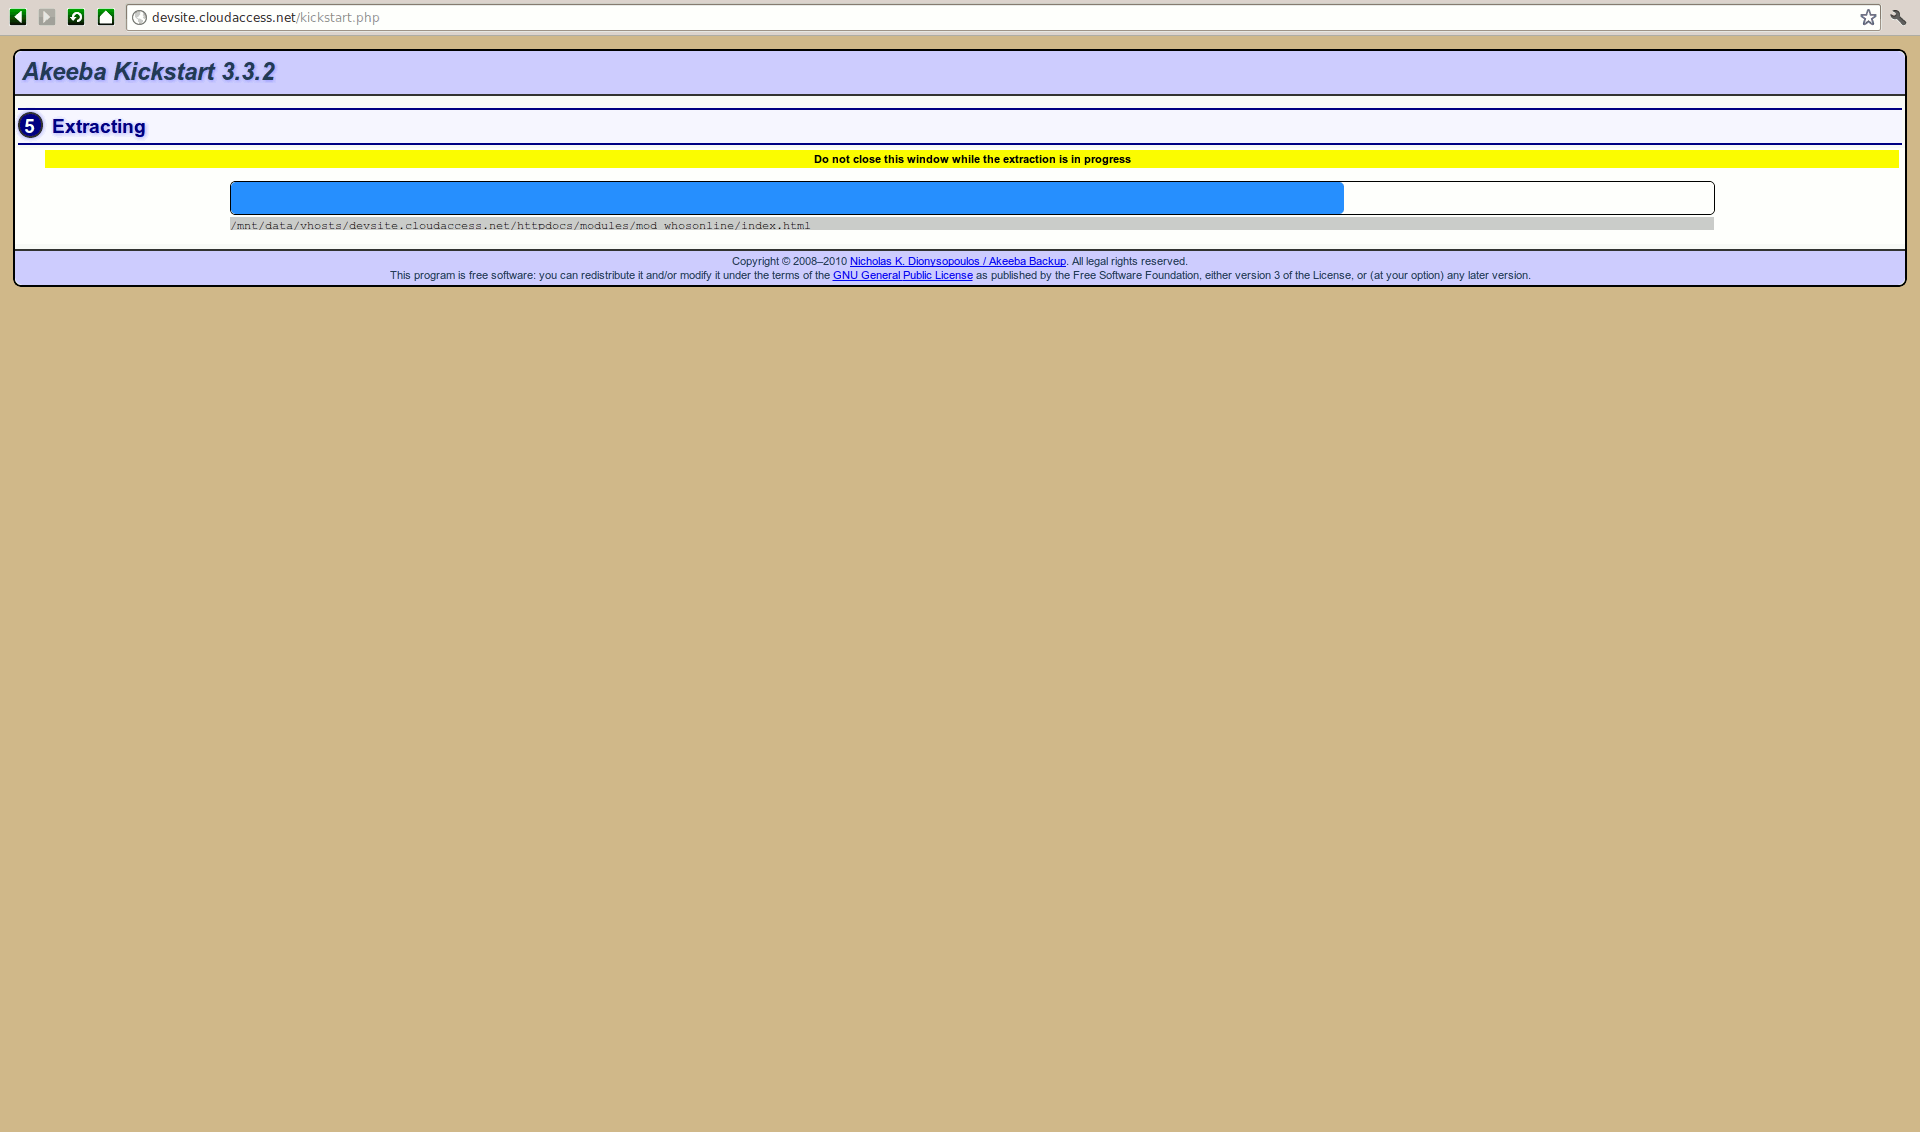
You’ll see a progress bar.
Back to Top
Configuring the files to work within the destination account
After the successful extraction, another page will appear. Click the “Run the Installer” button.

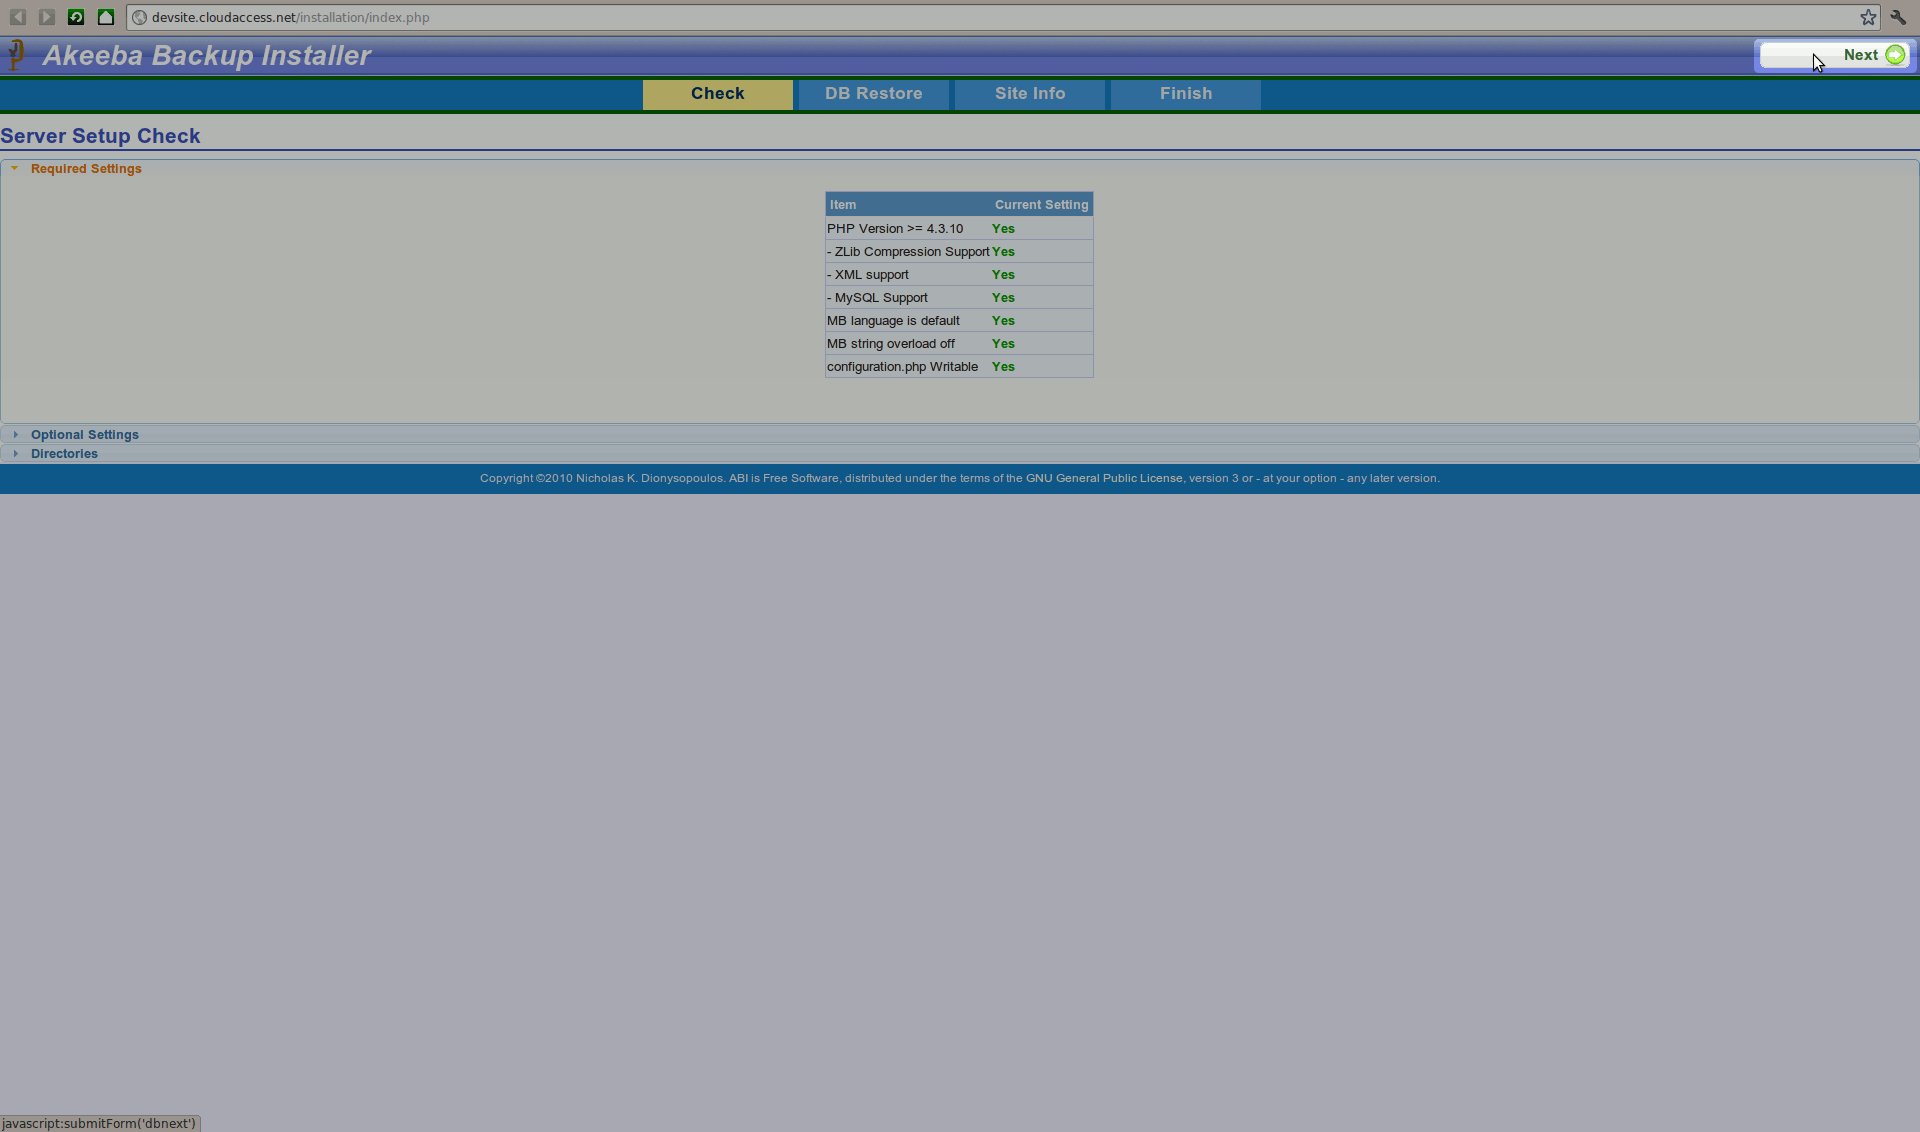
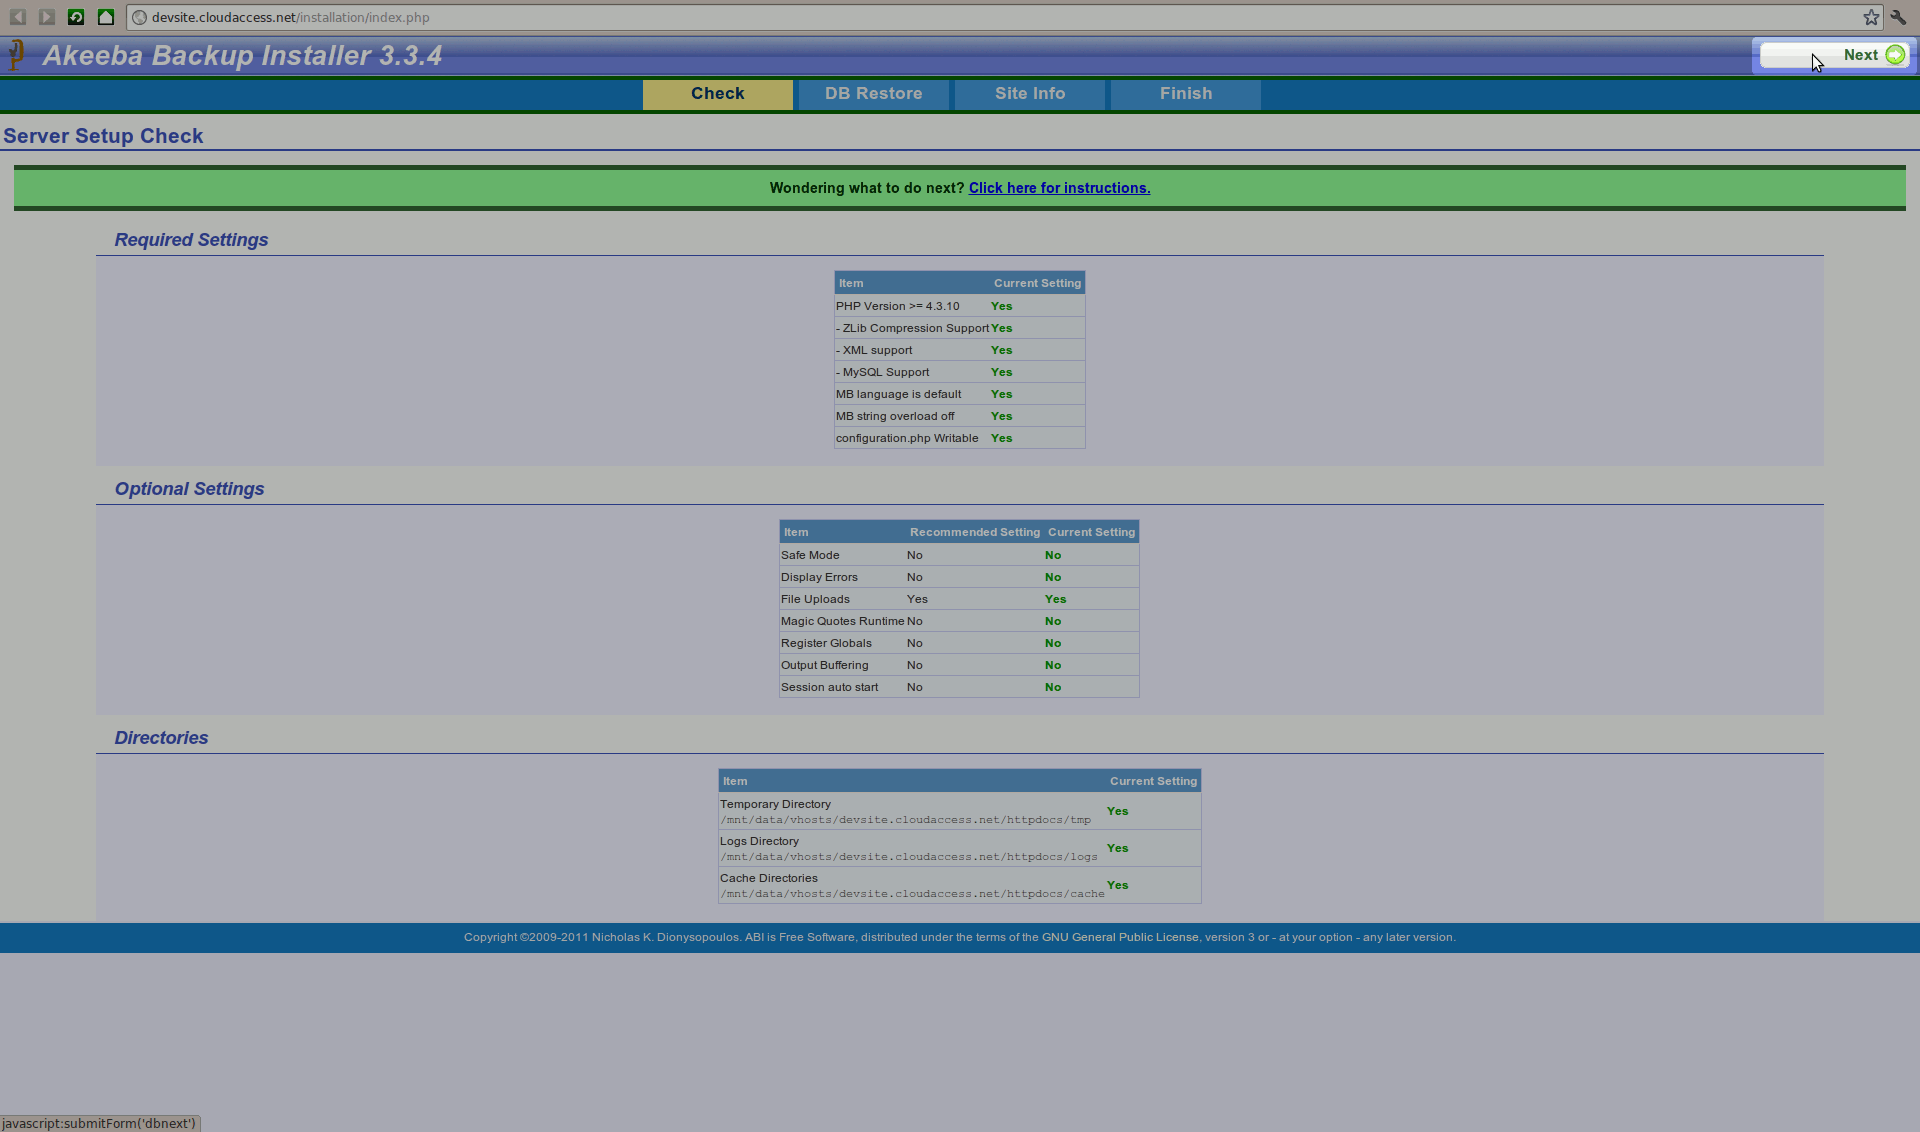
The first two pages of the installer will show you diagnostic information. Click “Next” on each page to proceed.
The screen will display a warning window letting you know that the backup is being restored in a different location that where it was previously. Click “Yes” to proceed.
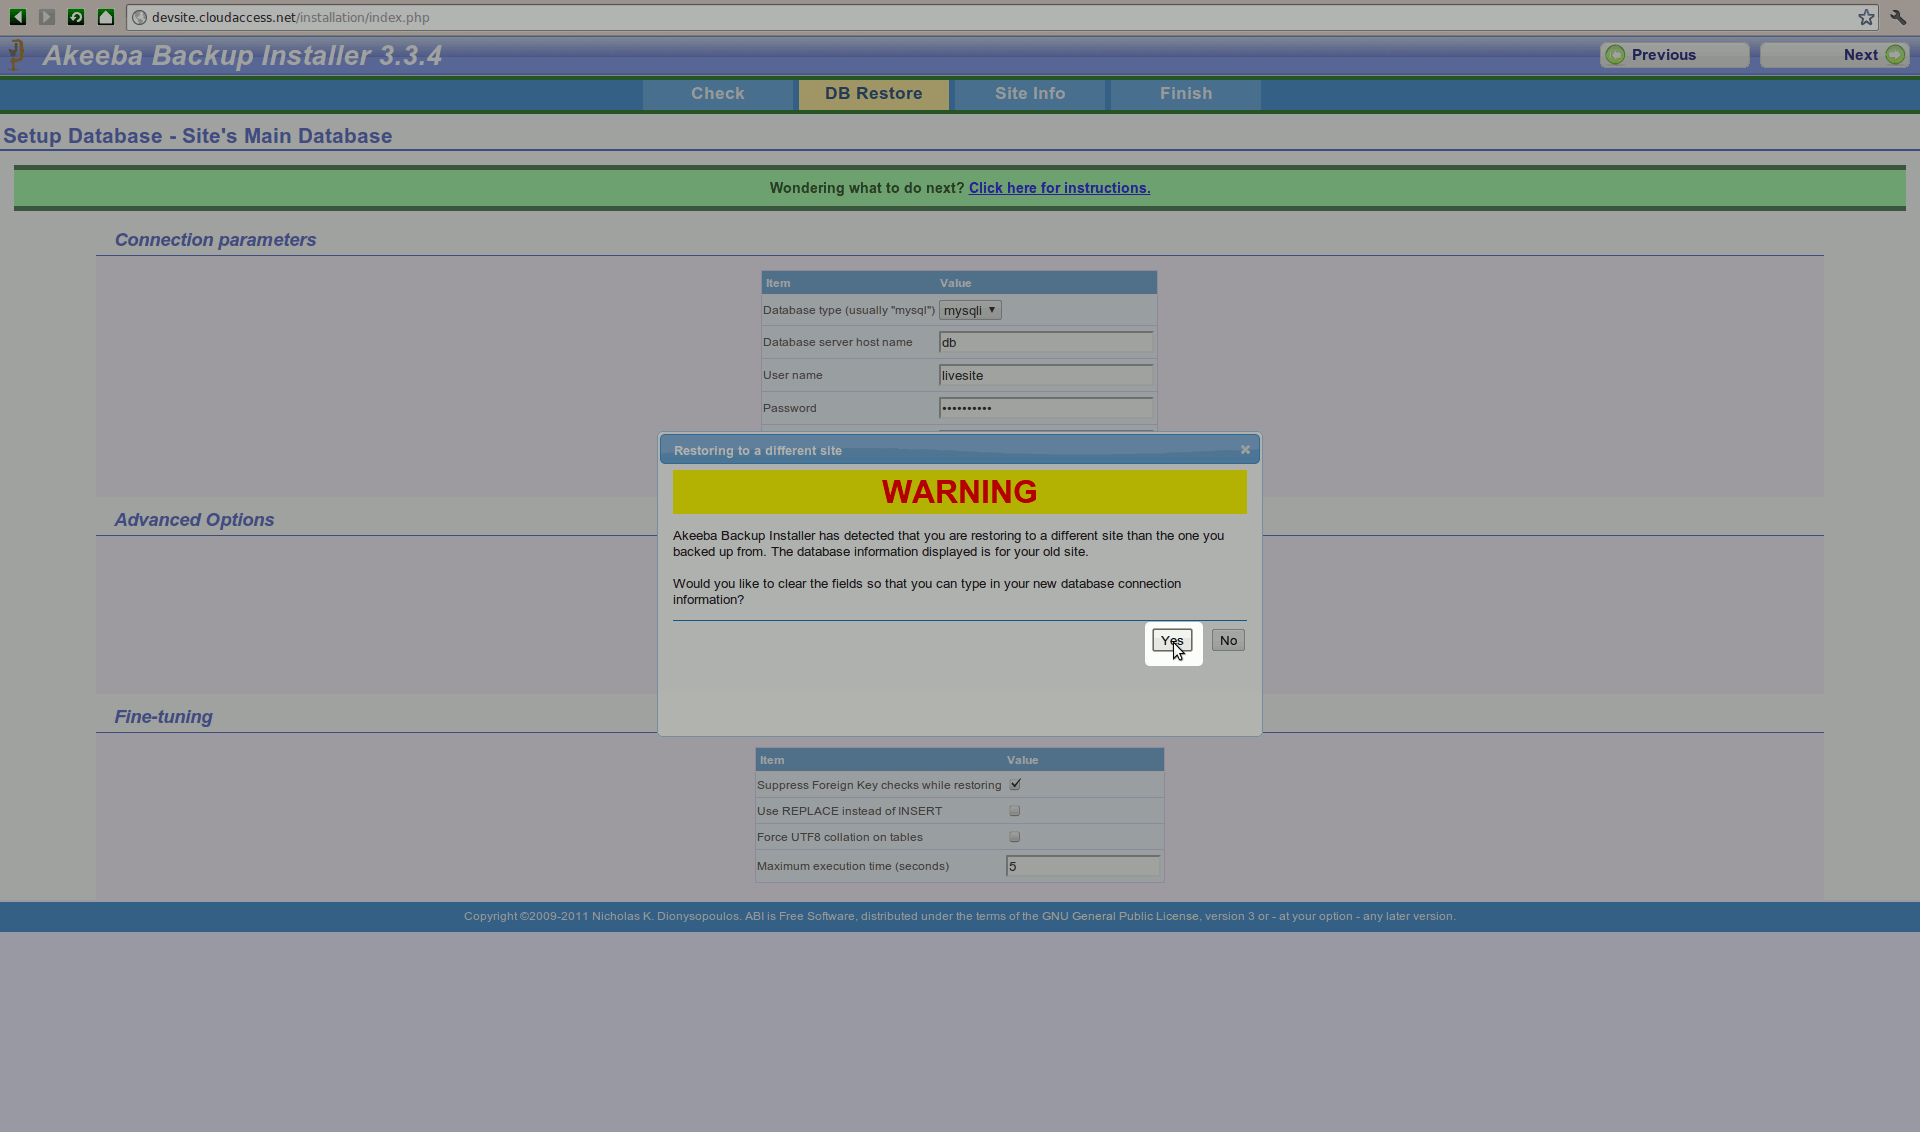
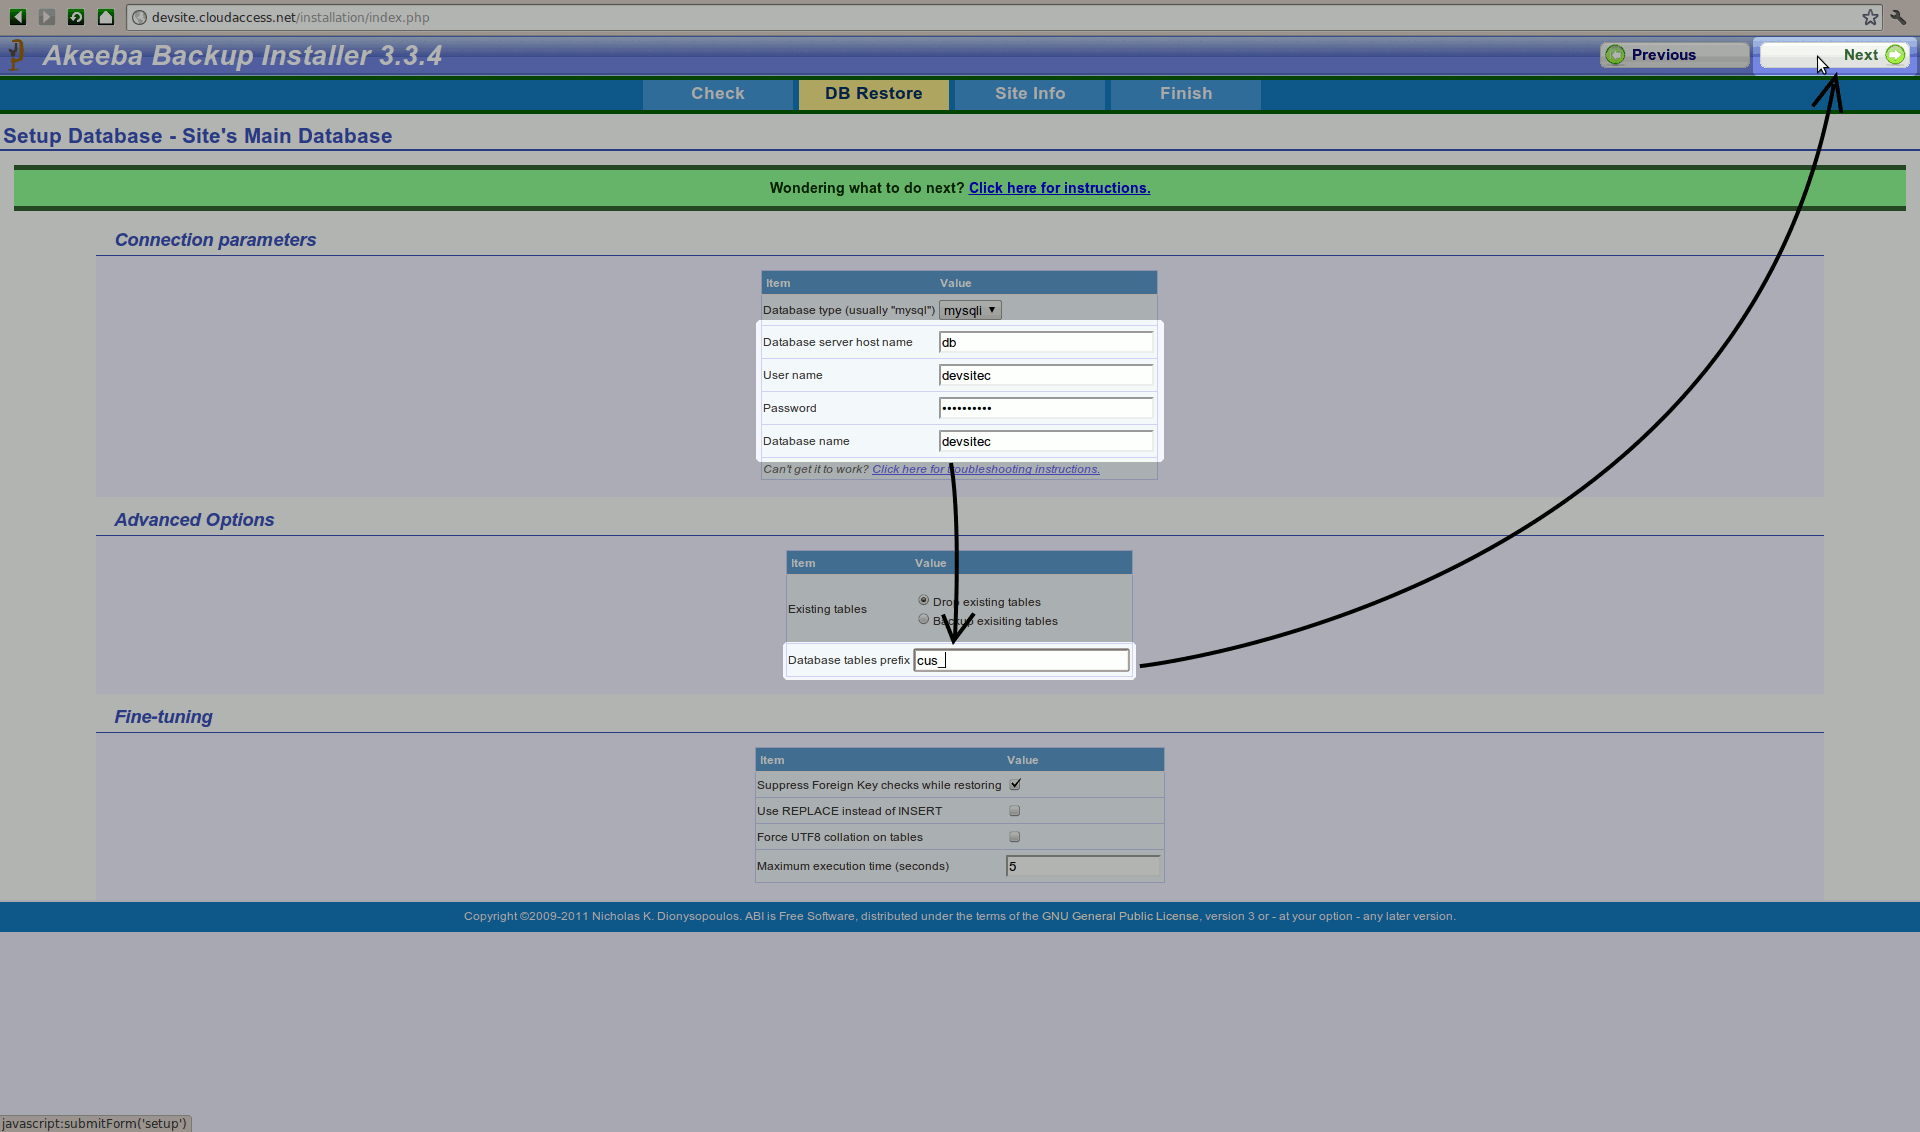
A form will appear asking for the information from the configuration.php file that you downloaded from this site earlier. Provide the information and then click “Next”
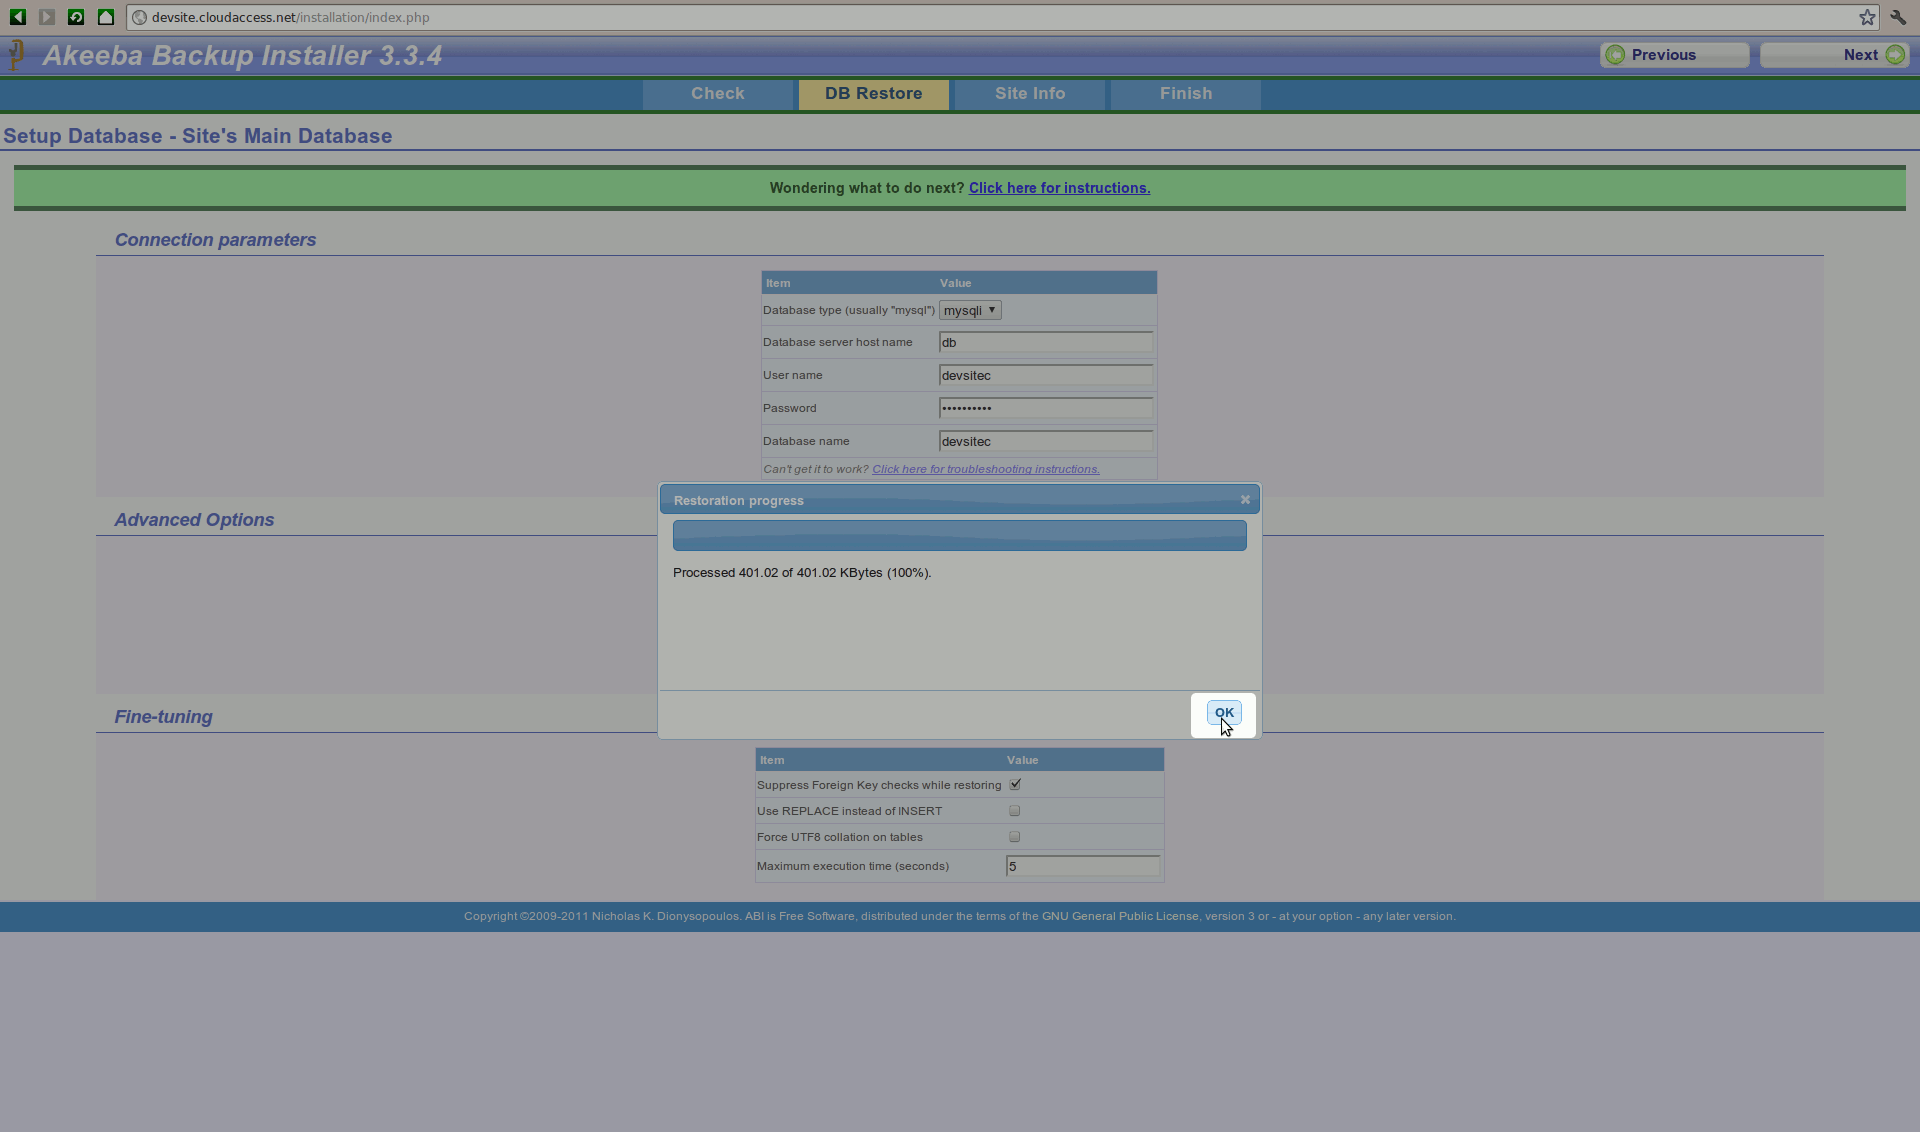
You’ll see the database restoration progress and an "OK" button will appear once it’s complete:
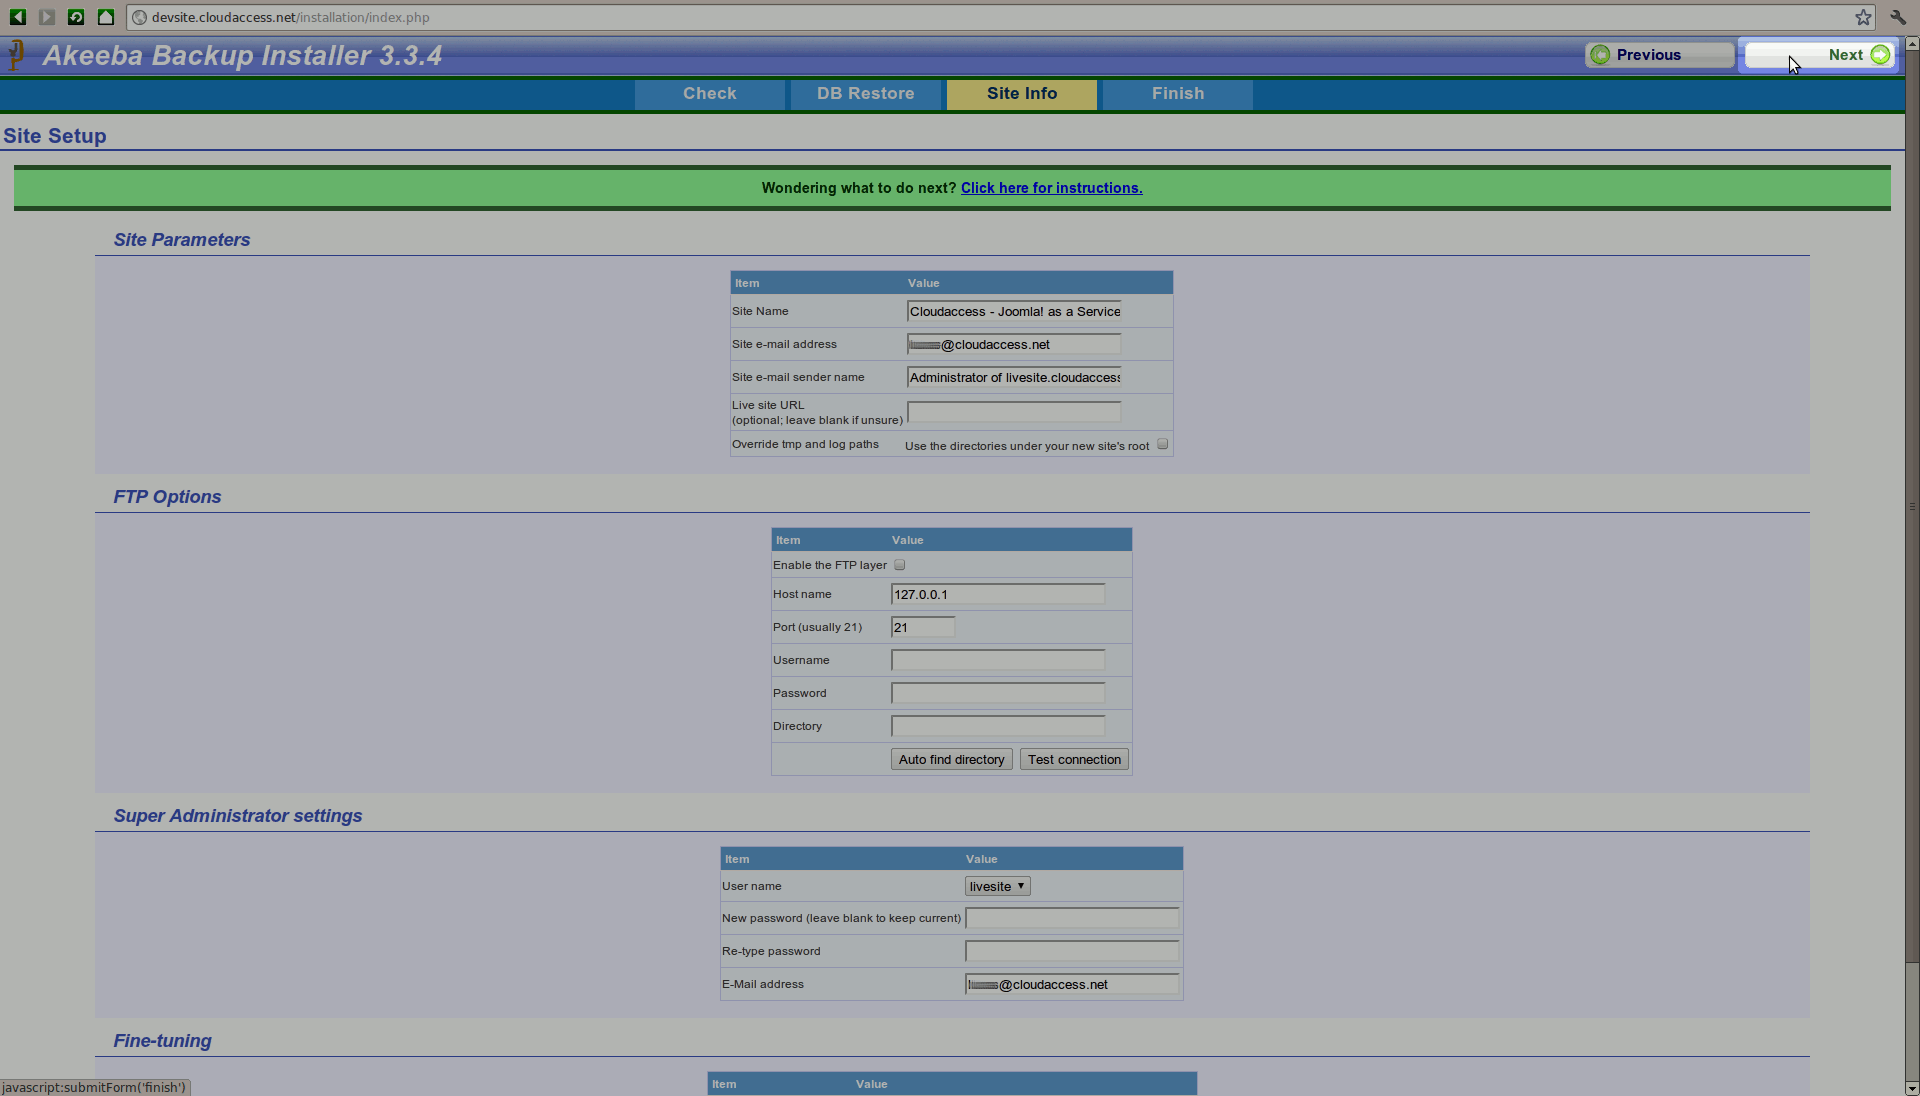
The next screen will display details about your Joomla Instance as well as the administration access credentials. You can safely click the “Next” button, unless you’d like to change admin account password or any other information listed here.
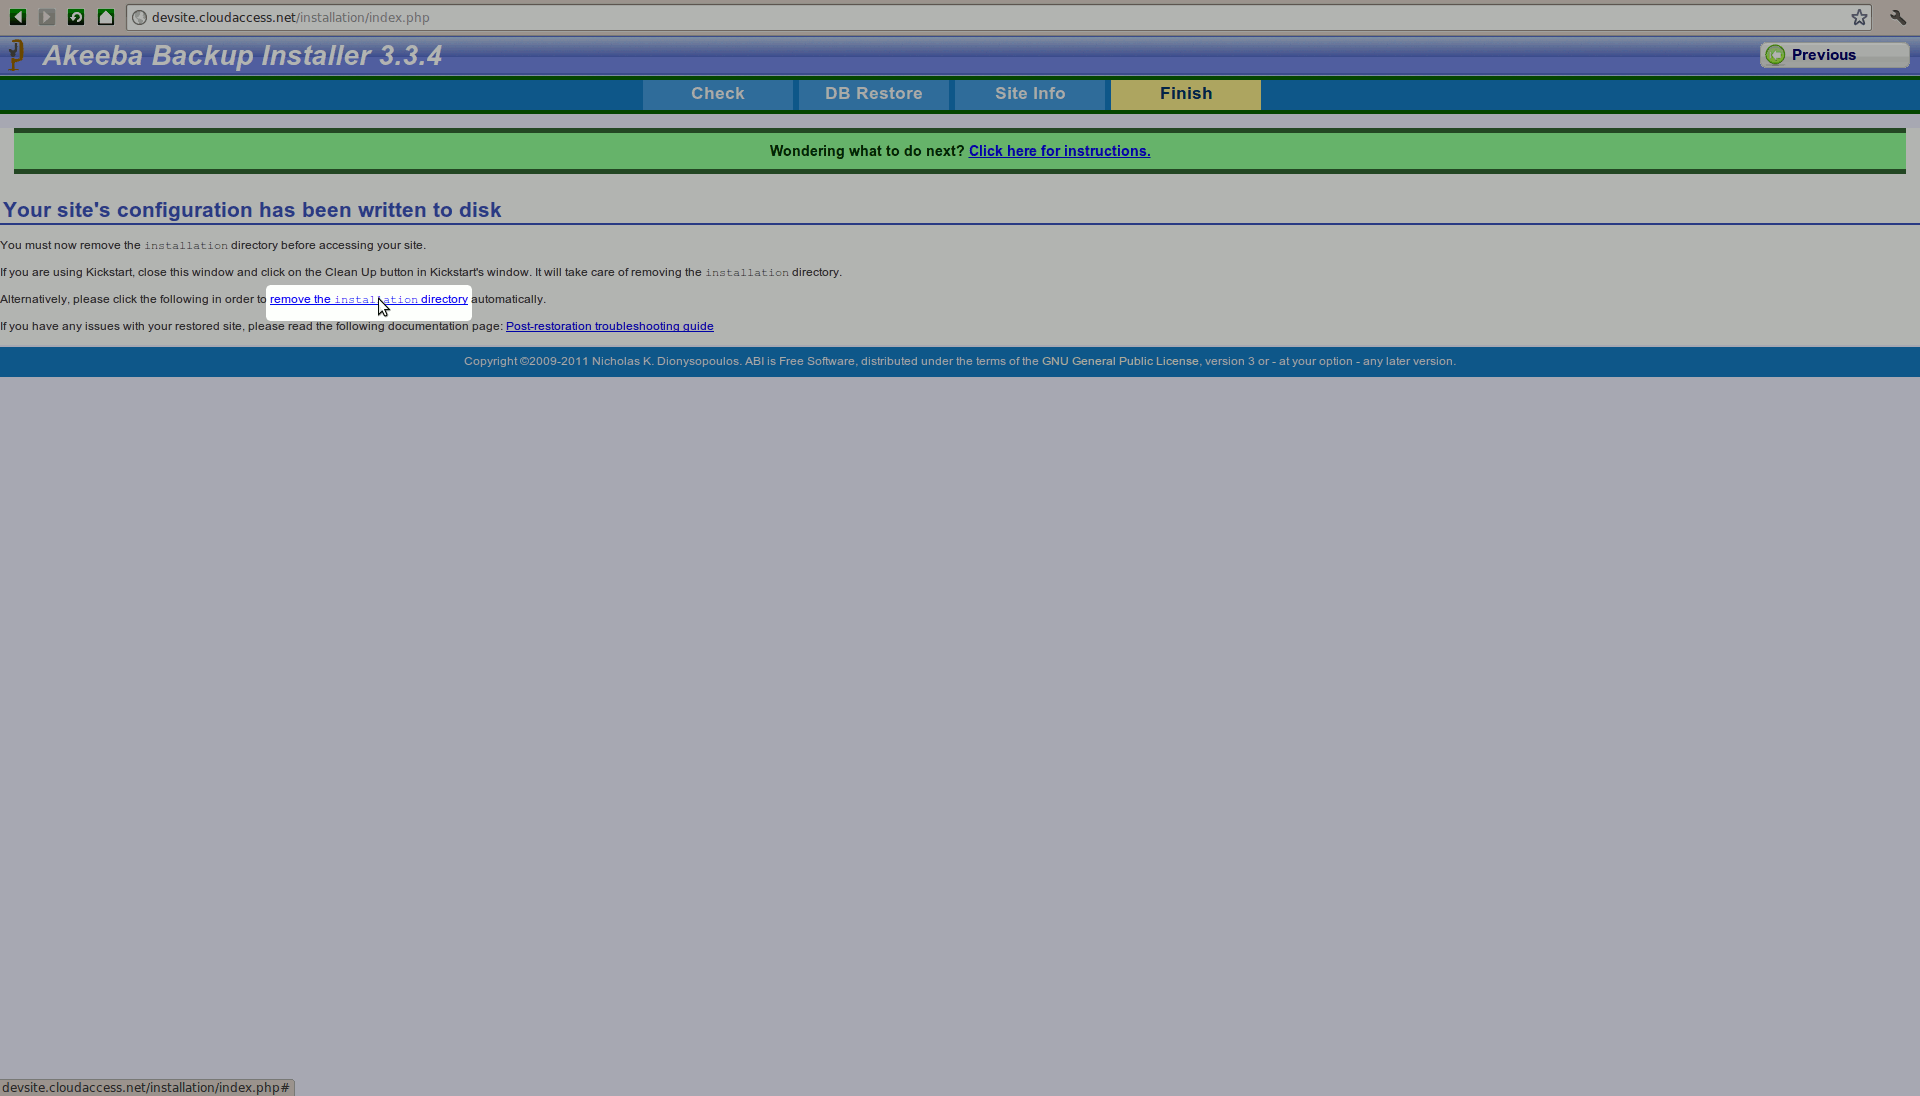
You're almost done! The installation wizard will notify you that the installation directory needs to be deleted in order to proceed. You can do this by clicking the “remove the installation directory” link.
Once it's deleted, you'll receive a confirmation message.
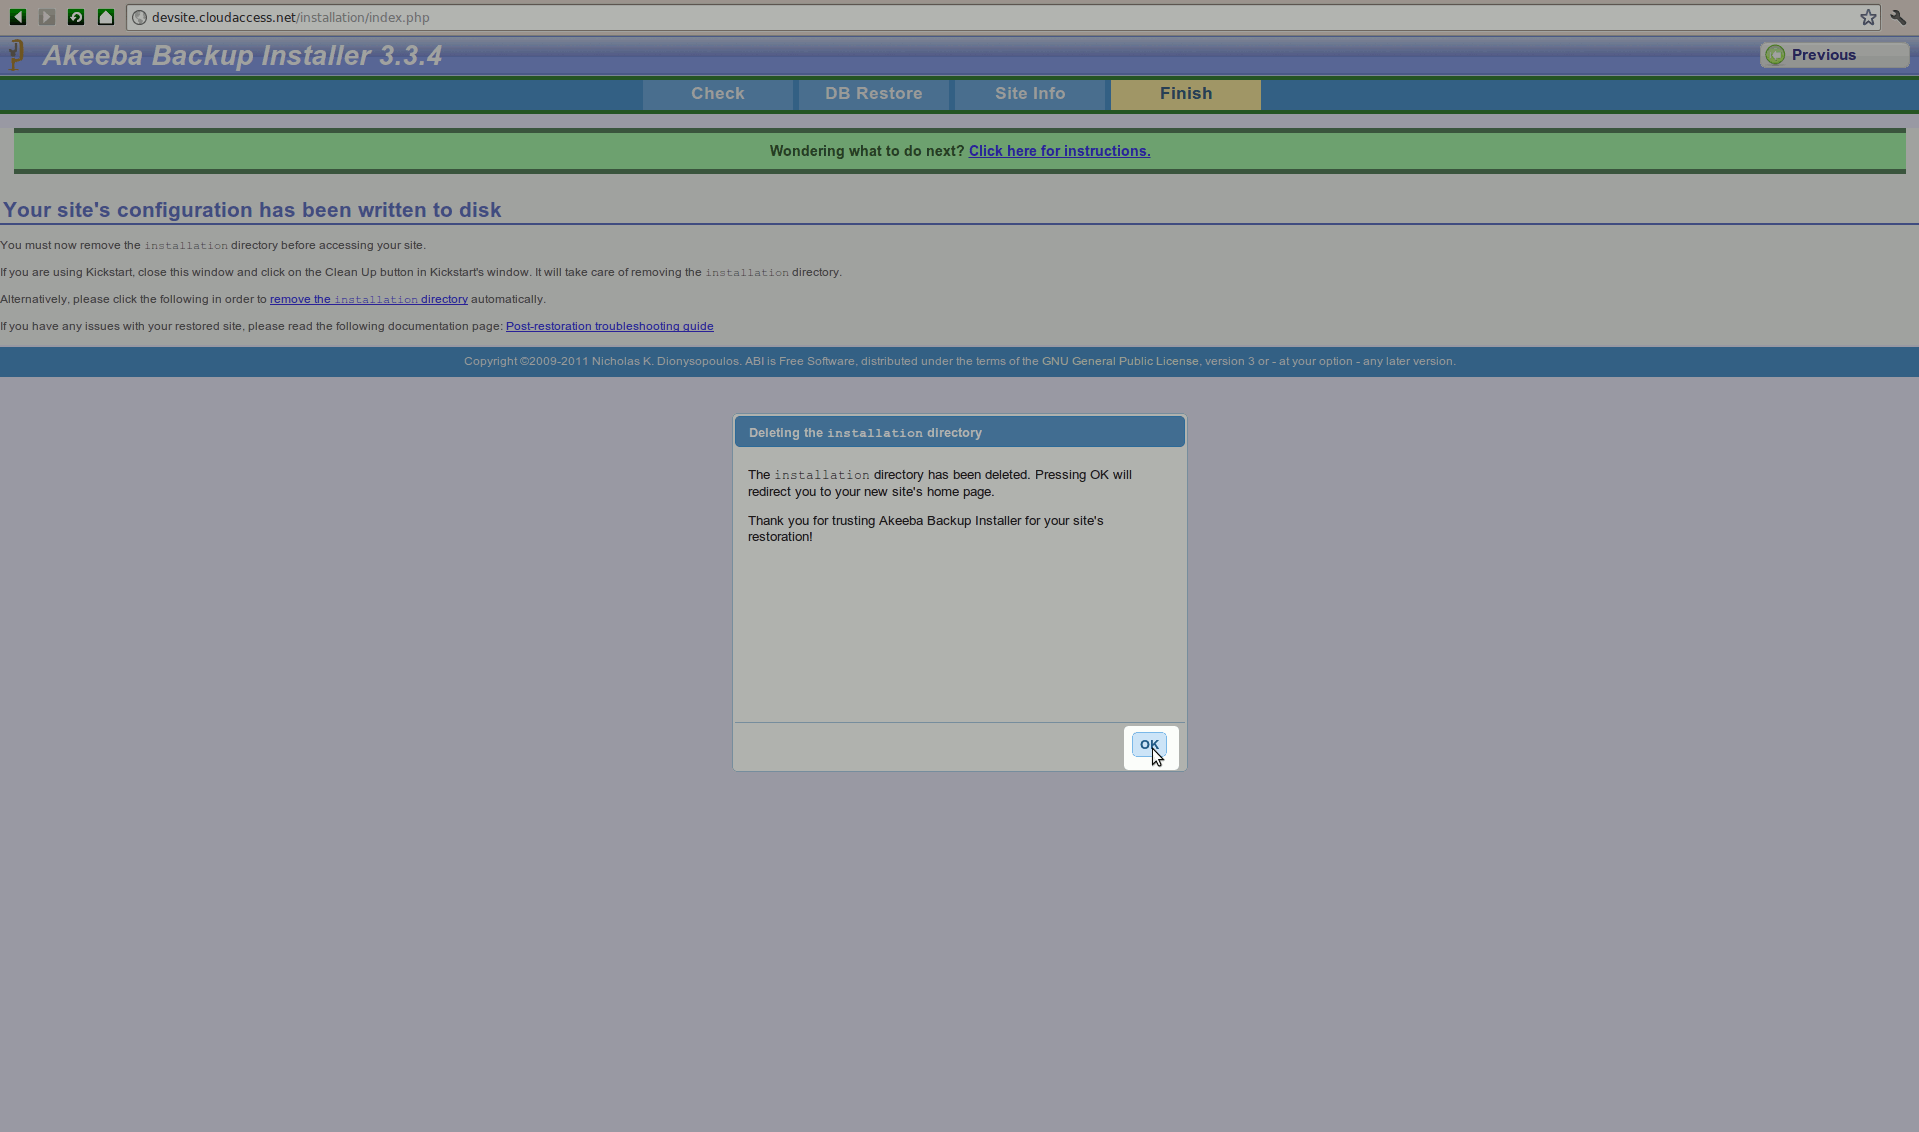
The page will reload and your Joomla Instance will be displayed. One last step is required to complete the whole process. You’ll notice that another tab/window that is still open - go there and click the “Clean up” button - this will remove all temporary files that were used during the installation.

Back to Top
Knowledgebase

100% FREE
Joomla & WordPress
Hosting
- Launch Instantly
- Free Subdomain
- Free Training
- Free SSL
- 500MB Space
- 1CPU/1GB RAM
- FTP Access
- MySQL Access

Do you have suggestions for improving this article?
We take a great deal of pride in our knowledgebase and making sure that our content is complete, accurate and useable. If you have a suggestion for improving anything in this content, please let us know by filling out this form. Be sure to include the link to the article that you'd like to see improved. Thank you!