- You are here:
-
Cloud Control Panel™

- Domain Name Management
Request Cancellation
Of course we would like to keep your business, but we do understand that you may need to cancel one of the sites that you have hosted with CloudAccess.net. If that is the case, this article will explain how to begin the Request Cancellation process.
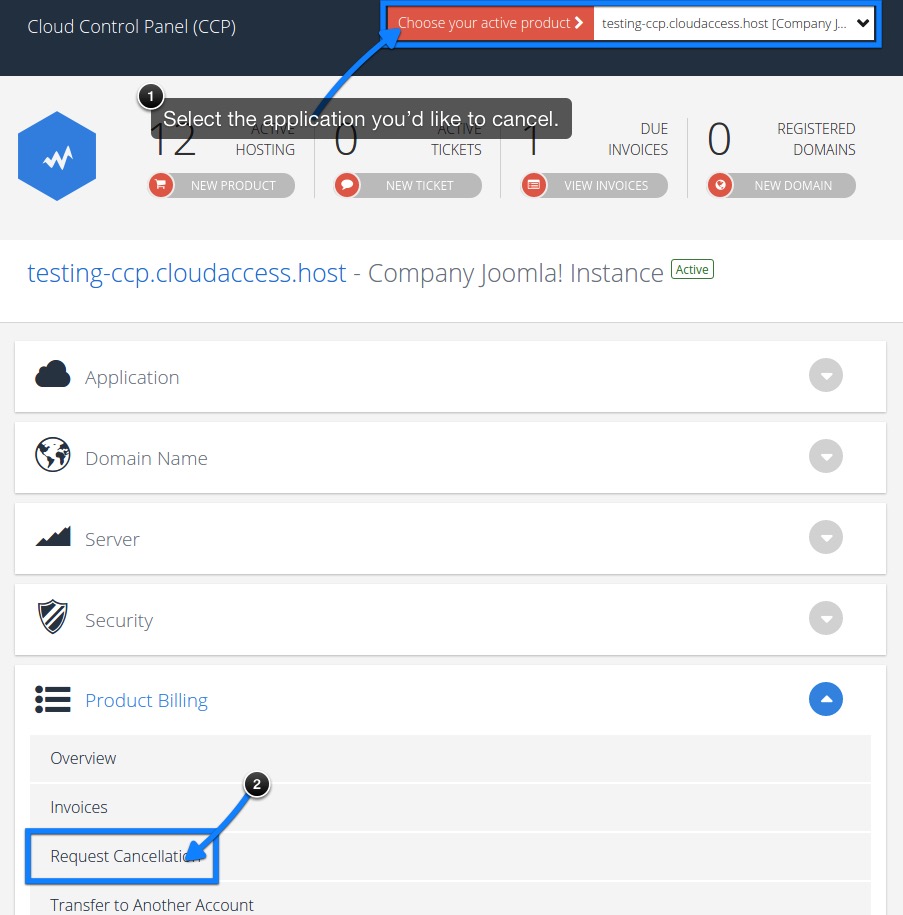
To begin this process, log into your Cloud Control Panel™(CCP) . Once inside the CCP, use the dashboard at the top to select the site you'd like to cancel. Next, scroll down and click on the "Request Cancellation" icon.
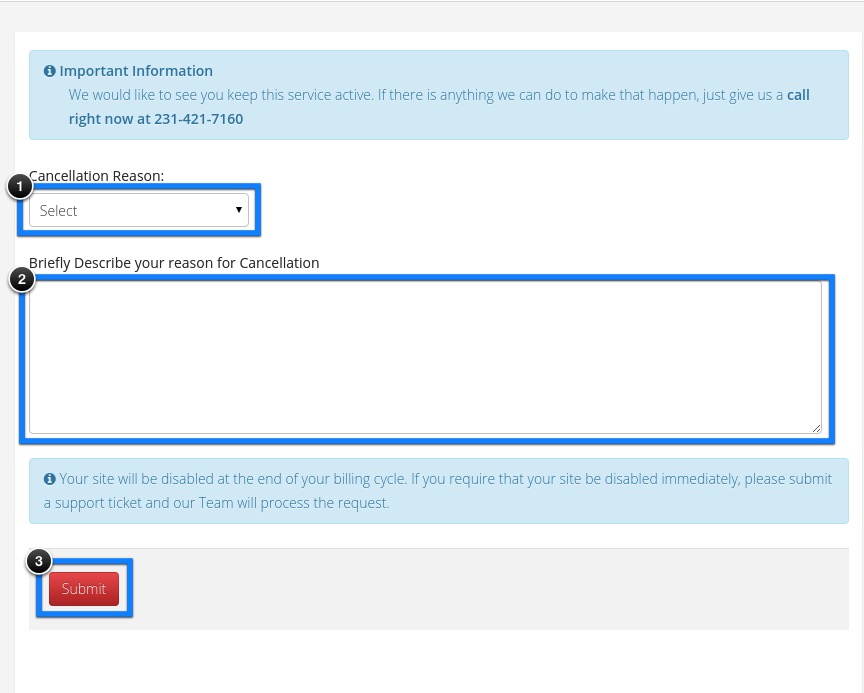
On the "Account Cancellation Request" page, please select a "Cancellation Reason" and briefly describe your reason for cancelling the service. When done, click on the "Request Cancellation" button.
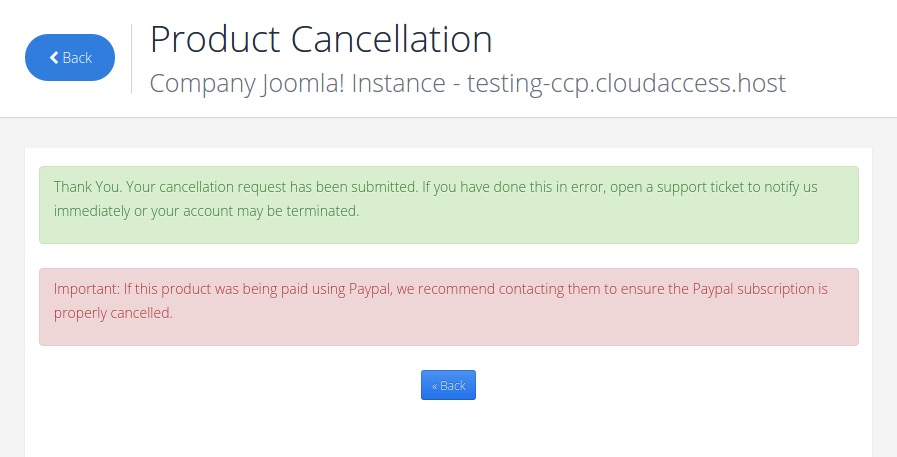
You will receive a confirmation and a confirmation email will be sent.
Please note:
- If your account gets billed after you request termination, we will refund the last month as part of the cancellation process.
- Cancellations are considered a termination of services and we will delete all domain data from our servers, including any CCP backups. Make a backup of your site and download it to store locally before you cancel a site so that the information stays safe.
We dislike losing clients, and if there is a way to keep your business, please let us know. Our level of hosting and support is unparalleled in the industry and we'd welcome you back as a client at any point.
Knowledgebase

100% FREE
Joomla & WordPress
Hosting
- Launch Instantly
- Free Subdomain
- Free Training
- Free SSL
- 500MB Space
- 1CPU/1GB RAM
- FTP Access
- MySQL Access

Do you have suggestions for improving this article?
We take a great deal of pride in our knowledgebase and making sure that our content is complete, accurate and useable. If you have a suggestion for improving anything in this content, please let us know by filling out this form. Be sure to include the link to the article that you'd like to see improved. Thank you!